
How to Add a White Background to a Transparent Image
Learn how to add a white background to a transparent image online. Convert transparent PNGs into clean white-background images for products, websites, and more.
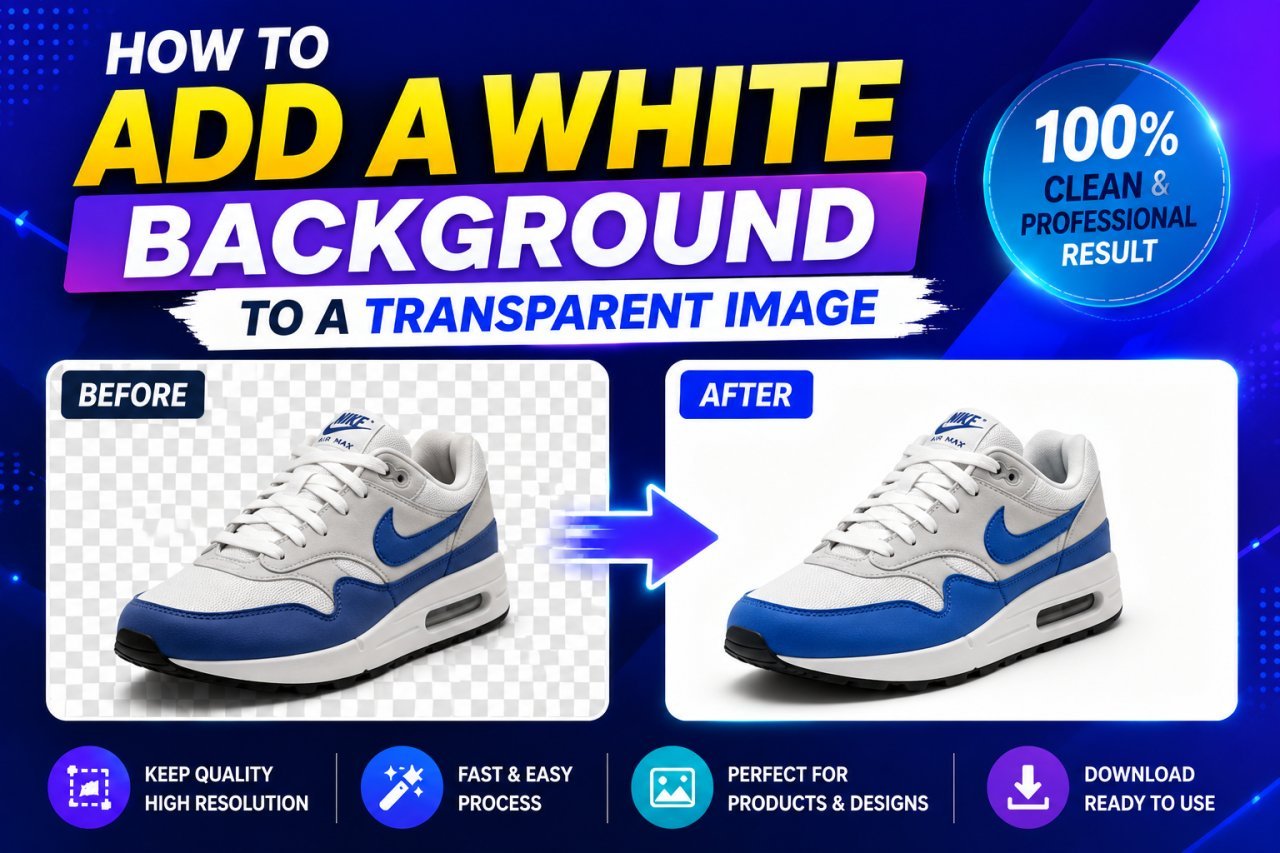
How to Add a White Background to a Transparent Image
Introduction
A transparent image can be useful when you want to place a logo, product, object, or graphic over different backgrounds. But sometimes you need the same image with a solid white background instead.
If you want to add a white background to a transparent image, you usually do not need complicated photo-editing software.
A transparent PNG can be placed over a white layer or background using an online image editor. The basic process is simple: upload the transparent image, add a white background behind it, check the composition, and export the finished image.
This can be useful for product listings, websites, catalogs, presentations, documents, social media graphics, and other design projects.
In this guide, you will learn what a transparent image is, why you may want to add a white background, how to do it online, which file formats work best, and how to avoid common mistakes.
What Is a Transparent Image?
A transparent image is an image that contains areas where the background is not visible.
For example, a PNG logo may contain only the logo itself, with no colored box behind it.
When you place that logo over a website, the background of the website can show through the transparent areas.
This is different from a normal image with a solid background.
Simple Example
Imagine you have a product image showing a pair of shoes.
A transparent version might contain:
Shoes → Visible
Background → Transparent
If you add a white background:
Shoes → Visible
Background → White
The subject remains in the same position, but the transparent area is filled with white.
Why Add a White Background to a Transparent Image?
There are many reasons you might want to convert a transparent image into a white-background image.
A white background can be useful when:
- A website requires a solid background.
- You are preparing a product image.
- A marketplace requires a white backdrop.
- You want to place an image in a document.
- You are creating a catalog.
- You need a simple presentation graphic.
- A printer or design workflow works better with a solid background.
- You want multiple product images to have a consistent appearance.
White is also a neutral background, so it usually does not compete heavily with the main subject.
Can You Add a White Background to a Transparent Image Online?
Yes.
You can use an online photo editor or image editor that supports layers, background colors, or canvas editing.
The general process is:
- Upload the transparent image.
- Make sure the transparency is preserved.
- Add a white layer or white canvas behind the image.
- Position the transparent image above the white background.
- Check the edges.
- Adjust the image size if necessary.
- Export the finished image.
The exact buttons and interface will depend on the editor you use.
How to Add a White Background to a Transparent Image Online
Step 1: Prepare Your Transparent Image
Start with the transparent version of your image.
PNG is one of the most common formats for images that need transparency.
Before editing, check that the image actually has a transparent background.
Some images may appear to have a white background but are actually white pixels rather than transparent pixels.
How to Tell if an Image Is Transparent
Many image editors show transparency using a checkerboard pattern.
You may see a pattern similar to:
▧ ▧ ▧ ▧
This checkerboard area generally indicates that there are transparent pixels.
If the entire image already has a solid white background, you do not need to add another white background.
Step 2: Open an Online Image Editor
Choose an online editor that allows you to work with transparent PNG files and add a background.
Look for features such as:
- Canvas
- Background
- Layers
- Background color
- Add layer
- Fill
- PNG editing
A basic editor is usually enough for a simple white background.
You do not necessarily need advanced photo-editing software for this task.
Step 3: Upload the Transparent Image
Upload your PNG or other supported transparent image.
Once it opens, check that the transparent areas remain transparent.
If the checkerboard pattern is still visible around the subject, the transparency has likely been preserved.
Do not flatten the image yet.
You want to keep the transparent image separate from the new white background until the composition is finished.
Step 4: Add a White Background
Now create a white background behind the transparent image.
Depending on the editor, you may be able to:
- Change the canvas background to white.
- Add a white layer.
- Add a background color.
- Create a new white canvas.
- Place a white shape behind the image.
The important part is the order of the layers.
The white background should be behind the transparent image.
Layer Structure
A simple layer structure looks like this:
| Layer | Position |
|---|---|
| Transparent image | Top |
| White background | Bottom |
This allows the white color to show through the transparent areas without covering the visible subject.
Step 5: Make Sure the Background Is White
If your editor allows you to choose a custom color, standard pure white is commonly represented as:
#FFFFFF
For most basic image-editing purposes, this is a straightforward choice.
However, you do not always need pure white.
A slightly off-white background can sometimes work better for certain designs, depending on the purpose of the image.
Step 6: Adjust the Image Position
Once the white background has been added, check the position of your transparent image.
You may want to:
- Center the image.
- Resize the subject.
- Leave equal margins.
- Move the image slightly higher or lower.
- Create more space around the subject.
This is especially important for product images.
If the subject is too close to one edge, the final image may look unbalanced.
Step 7: Check the Edges
Even though the original image was transparent, its edges can still affect the final result.
Look closely around:
- Hair
- Product edges
- Clothing
- Logos
- Thin lines
- Small accessories
- Transparent objects
Check for unwanted halos or rough edges.
A colored outline from an earlier background can become visible when the image is placed on white.
Step 8: Choose the Right Export Format
After adding the white background, your export format may change depending on what you need.
For example, if you need a standard image with a solid white background, JPEG may be suitable for many everyday uses.
PNG can also be used when you want to preserve image quality or need other PNG-specific features.
The correct format depends on where you plan to use the image.
| Format | Common use | Supports transparency |
|---|---|---|
| PNG | Graphics, logos, edited images | Yes |
| JPG/JPEG | Photos, websites, general use | No |
| WebP | Web images | Can support transparency |
| GIF | Simple graphics | Limited transparency |
Once you add a white background and export as JPG, the transparent areas become white rather than remaining transparent.
Transparent Image vs White Background Image
Understanding the difference is important.
| Feature | Transparent image | White background image |
|---|---|---|
| Background | Transparent | White |
| Common format | PNG | JPG or PNG |
| Can show another background through it | Yes | No |
| Good for logos | Often | Sometimes |
| Good for product listings | Depends | Often useful |
| Easy to place over different backgrounds | Yes | No |
| Fixed white appearance | No | Yes |
If you want maximum design flexibility, keep the original transparent file.
If you need a finished image with a white background, create a separate white-background version.
Why You Should Keep the Original Transparent Image
Do not overwrite the original file if you may need transparency later.
For example, you might need:
- A transparent logo for your website.
- A white-background logo for a document.
- A transparent product image for another design.
- A white-background product image for a catalog.
Keeping both versions gives you more flexibility.
A simple file naming system can help:
product-transparent.png
product-white-background.jpg
This makes it easier to identify the correct version later.
Common Uses for a White Background
Ecommerce Product Images
A white background can make product images look consistent across a catalog.
For example, a store may have transparent product images for:
- Shoes
- Bags
- Electronics
- Jewelry
- Handmade products
- Home accessories
Adding the same white background treatment to each image can create a more uniform appearance.
Logos
A transparent logo can be useful on websites because it can sit over different colors.
But if you need to insert the logo into a document with a fixed white background, you may prefer a white-background version.
Website Graphics
Some website layouts may work better with a solid white image background.
However, always consider whether adding white will create an unwanted rectangular area around the graphic.
Documents and Presentations
Transparent images can behave differently depending on the software being used.
Adding a white background can make the image easier to place consistently in some documents or presentation layouts.
Simple Example: Product PNG
Imagine you have a transparent PNG of a coffee mug.
The mug itself is visible, while everything around it is transparent.
You want to create a product image with a white background.
Basic Workflow
- Open the transparent PNG.
- Create a white background.
- Place the PNG above the white layer.
- Center the mug.
- Check the edges.
- Adjust the size.
- Export the finished image.
The result is a mug displayed against a solid white background.
Simple Example: Transparent Logo
Suppose you have a transparent company logo.
You want to place it inside a printed document.
Instead of using the transparent version, you can create a white-background version.
The workflow is similar:
- Open the transparent logo.
- Add a white background behind it.
- Check the logo edges.
- Keep enough white space around the logo.
- Export the image.
- Keep the original transparent logo separately.
What If the Transparent Image Has a Shadow?
Some transparent images already contain a shadow around the subject.
When you add a white background, the shadow may become visible.
This can be useful.
For example, a product cutout with a natural shadow can look more grounded on white.
However, inspect the shadow carefully.
A shadow that was designed for a different background may look strange after the background is changed.
What If the Image Has Transparent Parts?
Some objects contain transparency within the subject itself.
Examples include:
- Glass
- Transparent bottles
- Clear plastic
- Thin fabric
- Objects with transparent sections
Adding a white background will make these areas appear white or interact visually with the white behind them.
This can change how the object looks.
For these images, compare the result with the original transparent version before deciding which one to use.
Beginner-Friendly Method
If you are new to image editing, remember this simple process:
Upload → Add White Background → Place Image Above It → Adjust → Check → Export
You do not need to perform complicated masking if the image is already transparent.
The main task is simply creating a white layer behind the existing image.
Quick Checklist Before Exporting
Before downloading your white-background image, check:
- Is the original image still intact?
- Is the white background actually behind the image?
- Is the background completely white?
- Is the subject centered correctly?
- Are the edges clean?
- Are important details preserved?
- Is the image large enough for its intended use?
- Is the export format appropriate?
- Does the image look natural at normal size?
A few seconds of checking can prevent simple editing mistakes.
Remove Background from Image — Free & Private
Final Advice for Part 1
Adding a white background to a transparent image is usually easier than removing a background from a normal photograph because the transparency has already separated the subject from its surroundings.
The key is to preserve that transparency until you have added the white background behind it.
For simple graphics and product cutouts, an online editor with basic layer or canvas controls may be all you need.
Keep your original transparent file, create a separate white-background version, and always check the final result before using it.
How to Add a White Background to a Transparent Image: Advanced Tips and Best Practices
How to Get a Clean White Background
Adding a white layer behind a transparent image is technically simple. Getting a polished final image requires a little more attention.
The most common problems are not usually with the white color itself. They happen around the subject, image dimensions, shadows, positioning, and export settings.
A few simple checks can make a noticeable difference.
1. Check the Transparency Before Editing
Before adding the white background, confirm that the image is actually transparent.
A transparent PNG often displays a checkerboard pattern in an image editor.
If you see a solid white area instead, the image may already have a white background.
This matters because you cannot simply remove a white background by placing another white background behind it. The original white pixels are already part of the image.
Quick Comparison
| Image type | What you should do |
|---|---|
| Transparent PNG | Add white behind it |
| White-background JPG | Use as it is or remove the background first |
| White-background PNG | Background must be removed if transparency is needed |
| Transparent WebP | Add white background if supported by your editor |
2. Preserve the Original File
One of the best habits in image editing is keeping the original file untouched.
Suppose you have:
logo-transparent.png
Create a new version such as:
logo-white-background.png
Or, if JPEG is appropriate:
logo-white-background.jpg
This gives you both versions.
You can continue using the transparent file for websites and use the white-background version for documents, catalogs, or other projects.
3. Choose the Correct Canvas Size
The white background should normally fit the final image dimensions.
For example, if your transparent image is square, you may want to keep the final canvas square.
Common layouts include:
| Layout | Possible use |
|---|---|
| Square | Product images, social media |
| Landscape | Website banners, presentations |
| Portrait | Posters, profile graphics |
| Custom | Catalogs and specific designs |
Do not stretch the subject just to fill the canvas.
Instead, resize the subject proportionally.
4. Avoid Distorting the Image
When resizing the transparent image, keep its original proportions.
If you drag only one side of an image, you can accidentally make the subject wider or taller than it should be.
For example, a circular logo can become oval-shaped.
A product can appear unusually wide.
A person's face can look distorted.
Use proportional resizing whenever possible.
5. Keep Enough White Space
Adding a white background does not mean the subject needs to fill the entire canvas.
A small amount of empty space around the subject can make the image easier to use.
For product photography, for example, leaving consistent margins can make a catalog look more organized.
The amount of space depends on the intended design.
Simple Rule
Do not crop important parts of the subject simply to reduce empty space.
It is usually better to have slightly more white space than to cut off part of the image.
6. Centering Is Not Always Necessary
Centering is often a good starting point, but it is not mandatory.
A product may look better slightly above the center if you want more space below it for text.
A logo may be positioned according to a specific layout.
A graphic may need to align with other elements on a page.
The important thing is intentional positioning.
Adding White Background to Different Image Types
The process can be slightly different depending on what the transparent image contains.
Product Cutouts
Product cutouts are often straightforward.
Pay attention to:
- Product edges
- Natural shadows
- Small details
- Product proportions
- Empty space
Logos
Logos usually need clean edges and consistent spacing.
Avoid accidentally cropping parts of letters or symbols.
If the logo contains very thin lines, inspect them carefully after adding the white background.
Icons and Illustrations
Simple icons are generally easy to place over white.
However, check whether the design uses white elements.
White text or white shapes may disappear when placed on a white background.
Portrait Cutouts
Portraits can contain complicated hair and clothing edges.
The transparent file may already have been carefully cut out, but you should still inspect the result after adding white.
White Background vs Transparent Background: Which Should You Use?
The right choice depends on what you plan to do with the image.
| Situation | Better option |
|---|---|
| Need to place image over different backgrounds | Transparent |
| Need a fixed white image | White background |
| Product catalog with white design | White background |
| Website logo | Usually transparent |
| Printed document with white page | Either may work |
| Graphic design template | Usually transparent |
| Marketplace image requiring white | White background |
If you are unsure, keep the transparent original and create the white version separately.
That gives you the most flexibility.
Pros and Cons of Adding a White Background Online
Pros
- Simple process
- Beginner friendly
- Often faster than manual editing
- No need to recreate the original cutout
- Useful for ecommerce images
- Useful for documents and presentations
- Can create a consistent visual style
- Online tools can work directly in a browser
Cons
- The white background becomes part of the exported image
- You lose transparency if you export to a format without transparency
- White elements can blend into the background
- Some editors may compress exported images
- Free online tools may limit image size or export options
- Poorly positioned subjects can look unbalanced
The original transparent file should therefore be kept as a backup.
Common Mistakes to Avoid
Mistake 1: Putting the White Layer Above the Image
If the white layer is above the transparent image, it can cover the subject.
Better approach: Put the white layer below the transparent image.
The layer order should look like:
Transparent subject
White background
Mistake 2: Flattening Too Early
If you flatten the image before checking the composition, making later changes can become more difficult.
Better approach: Keep the image and white background separate until you are satisfied with the result.
Mistake 3: Overwriting the Original PNG
You may later need the transparent version.
Better approach: Save the edited version under a different filename.
Mistake 4: Using the Wrong Export Format
If you export a white-background image as a format that does not support transparency, that may be perfectly fine.
But if you later need transparency, you will need the original transparent file.
Better approach: Keep the transparent source file and create a separate finished version.
Mistake 5: Ignoring White Elements
A logo containing white text can disappear against a white background.
Better approach: Check the complete design before exporting.
Mistake 6: Making the Subject Too Large
If the subject touches the edges of the canvas, the image may look cramped.
Better approach: Leave suitable margins unless the design specifically requires a tight crop.
Mistake 7: Stretching the Subject
Changing the width and height independently can distort the original image.
Better approach: Resize proportionally.
Practical Example: Add White Background to a Product PNG
Imagine you have a transparent PNG of a black water bottle.
The bottle has already been cut out from its original background.
You need a clean image for a product catalog.
Step-by-Step
- Open the transparent PNG.
- Confirm that the background is transparent.
- Create a new white background layer.
- Move the white layer below the bottle.
- Keep the bottle's proportions unchanged.
- Center the bottle.
- Leave consistent margins around it.
- Check the bottle's edges.
- Inspect any existing shadow.
- Export a separate white-background version.
The original transparent PNG should remain untouched.
Practical Example: Add White Behind a Transparent Logo
Suppose you have a company logo in PNG format with transparent areas.
You need to place it in a PDF document that uses a white design.
Workflow
- Open the logo.
- Add a white layer behind it.
- Check that all logo elements remain visible.
- Adjust the amount of white space.
- Export the image.
- Keep the original transparent logo separately.
If the logo contains white text, check whether the text remains visible.
Practical Example: Transparent Product With a Shadow
Suppose a product cutout already includes a soft shadow.
After adding a white background, the shadow may help create depth.
But if the shadow is dark, uneven, or clearly connected to the old environment, it may need adjustment.
Before publishing, compare the image against the original transparent version.
Ask:
- Does the shadow still make sense?
- Does it look natural on white?
- Is it too dark?
- Does it extend too far?
- Does it distract from the product?
How to Make Multiple Images Look Consistent
If you are creating a collection of product images, consistency is more important than making every individual image unique.
Try to standardize:
- Canvas dimensions
- Background color
- Subject size
- Subject position
- White space
- Export format
For example:
| Setting | Recommended approach |
|---|---|
| Background | Consistent white |
| Canvas | Same dimensions |
| Subject size | Similar scale |
| Position | Consistent alignment |
| Margins | Similar spacing |
| File naming | Clear and organized |
This can make a group of images look like they belong to the same catalog.
How to Add a White Background Without Losing Quality
Image quality can be affected by the export process.
To reduce unnecessary quality loss:
- Start with the highest-quality original.
- Avoid repeatedly exporting and re-importing the image.
- Use suitable dimensions for the final purpose.
- Avoid enlarging a small image unnecessarily.
- Choose an appropriate export format.
- Keep the original file.
If the image is intended for printing, check the requirements of the printer or design workflow before exporting.
When Should You Use PNG?
PNG can be useful when:
- You need high-quality graphics.
- The image contains text or sharp edges.
- You want to preserve the PNG workflow.
- You need transparency in another version.
- The image contains simple graphics or logos.
If the final background is white, PNG can still be used.
The white background simply becomes part of the image.
When Should You Use JPG?
JPG is commonly used for photographs and general-purpose web images.
It can be suitable when:
- You no longer need transparency.
- You want a smaller file for many common uses.
- The image is primarily photographic.
- The destination supports JPG.
However, JPEG uses lossy compression, so repeated editing and exporting can gradually affect image quality.
What About WebP?
WebP is another modern image format that can support both transparent and non-transparent images.
It can be useful for websites, but the best format depends on the platform, software, and publishing workflow you are using.
If compatibility is the priority, PNG and JPG remain familiar choices for many users.
How to Check the Final White Background
After exporting, open the finished image separately.
Do not rely only on the editor's preview.
Check:
- Is the background white?
- Are the edges clean?
- Is the subject centered?
- Are any details missing?
- Is the image distorted?
- Is the resolution sufficient?
- Does the file open correctly?
This final check is particularly useful if the image will be uploaded to a website or marketplace.
Best Practices
Keep the Original Transparent File
This is one of the most important rules.
You may need transparency later.
Use a Separate White Background Layer
Keeping the background separate gives you more control before exporting.
Check the Subject at 100% Zoom
Look closely for edge problems and missing details.
Maintain Proportions
Never stretch a logo, product, or person simply to fill the canvas.
Use Consistent Dimensions
This is useful when preparing multiple images.
Match the Background to the Purpose
White is useful, but it is not always the best choice.
Review the Exported File
The final exported image should always be checked independently.
Quick Comparison: Three Ways to Create a White Background
| Method | Best for | Difficulty | Main advantage |
|---|---|---|---|
| Add white layer | Transparent images | Easy | Keeps subject intact |
| Change canvas background | Simple designs | Easy | Fast workflow |
| Manual compositing | Complex projects | Moderate | More control |
For an already-transparent image, adding a white layer behind the subject is usually the simplest approach.
Beginner Action Plan
If you want a quick workflow, follow these steps:
1. Open the transparent image.
2. Confirm the background is transparent.
3. Create a white background layer.
4. Move the white layer underneath the image.
5. Adjust the subject's size and position.
6. Check edges, shadows, and small details.
7. Keep the original transparent file.
8. Export the new white-background image.
9. Open the exported file and check it.
10. Use the correct version for your project.
Final Advice for Part 2
Adding a white background to an existing transparent image is generally a straightforward editing task.
The important part is maintaining control over the original image. Keep the transparent version, add white behind it, avoid distortion, and check the finished image before publishing.
For individual images, the process can take only a few simple steps. For large collections of product images, creating consistent dimensions, spacing, and positioning can make a much bigger difference.
A white background should make the image easier to use—not reduce its quality or hide important details.
Conclusion
Learning how to add a white background to a transparent image is a simple editing task that can be completed without advanced photo-editing skills.
If your image is already transparent, you do not need to remove the background again. Instead, you can place a white layer underneath the transparent image and export a new version.
This method is useful for product images, logos, catalogs, presentations, websites, documents, social media graphics, and other design projects.
The most important thing is to keep the original transparent file. Transparency gives you flexibility, so it is better to create a separate white-background version instead of replacing the original.
Before exporting, check the image's edges, positioning, proportions, shadows, and overall appearance. If the image contains white elements, make sure they remain visible against the white background.
For multiple product images, consistency also matters. Using the same canvas size, background color, subject scale, positioning, and margins can create a cleaner collection.
In most simple cases, the process can be summarized as:
Upload → Add White Background → Position → Check → Export
With the right workflow, you can quickly turn a transparent PNG into a clean white-background image while keeping the original file available for future projects.
Key Takeaways
- You can add a white background to a transparent image using an online image editor.
- A transparent PNG does not need background removal again.
- Add the white background behind the transparent image.
- Pure white is commonly represented by #FFFFFF.
- Check that the image is actually transparent before editing.
- Keep the original transparent file untouched.
- Create a separate white-background version for your project.
- Maintain the original image proportions when resizing.
- Avoid stretching logos, products, or other subjects.
- Check hair, product edges, thin lines, and small details.
- White objects and white design elements may need extra attention.
- A natural shadow can help some products look more grounded.
- Use consistent dimensions and positioning when creating multiple images.
- Choose PNG, JPG, WebP, or another format according to the final use.
- Always review the exported image before publishing.
Call to Action
Have a transparent PNG that needs a clean white background?
Open it in an online image editor, place a white background underneath the transparent image, adjust the positioning, and export a new version.
Keep your original transparent file and use the new white-background copy whenever you need a clean, fixed background.
Frequently Asked Questions
1. How do I add a white background to a transparent image?
Upload the transparent image to an image editor, create a white background layer, and place that layer behind the transparent image. Adjust the position and size, then export the finished image.
2. Can I add a white background to a PNG online?
Yes. If the PNG contains transparency, you can use an online image editor that supports transparent PNG files and background layers or canvas colors.
3. What color is pure white for an image background?
The commonly used hexadecimal color code for pure white is #FFFFFF. Many image editors allow you to enter this value when selecting a custom background color.
4. Will adding a white background remove transparency?
Yes, if you export the finished image with the white background as part of the image. The transparent areas will become white. Keep the original transparent PNG if you may need transparency later.
5. Should the white background be above or below the transparent image?
The white background should normally be below the transparent image. This allows the visible parts of the image to remain on top while the white color shows through the transparent areas.
6. Can I add a white background to a transparent product image?
Yes. This is a common use for transparent product images. Place the product cutout over a white background, adjust its position, check the edges and shadows, and export the final version.
7. What is better for a white background: PNG or JPG?
Both can be suitable. JPG is commonly used when transparency is no longer required, while PNG can be useful for graphics and images where you want to retain PNG-based quality or workflow. The best choice depends on the destination.
8. Why does my transparent image look different on a white background?
Some elements, such as shadows, semi-transparent areas, or white details, can look different when placed over white. Check the image carefully and compare it with the original transparent version.
9. Can I add a white background without Photoshop?
Yes. An online image editor with basic background, canvas, or layer controls can be enough. You generally do not need Photoshop for a simple transparent-image-to-white-background conversion.
10. Should I keep the original transparent image?
Yes. Keeping the original transparent file is strongly recommended. You can use it later on different backgrounds and create additional versions without starting the editing process again.
Ready to optimize your images?
Every tool mentioned in this article is free to use. No upload, no signup, and no watermarks — ever.
Try our free toolsRelated articles

How to Remove a Person From a Photo With AI: Easy Online Guide
Learn how to remove a person from a photo with AI using simple online editing techniques. Discover how AI object removal works, when to use it, and how to get natural-looking results.
How to Make a Photo Background White Online
Learn how to make a photo background white online using simple photo editing tools. Remove distracting backgrounds, add a clean white background, and create professional-looking images without Photoshop.
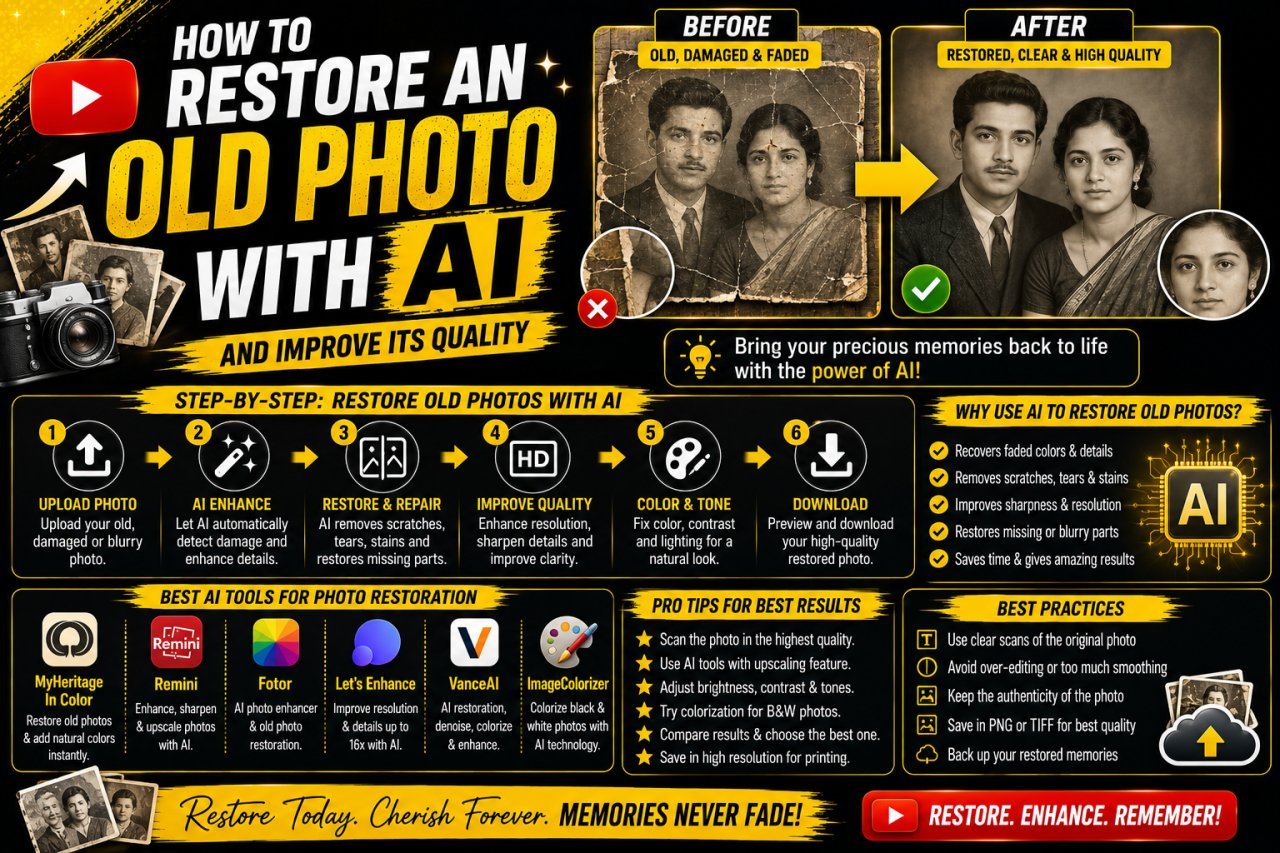
How to Restore an Old Photo With AI: Complete Beginner's Guide
Learn how to restore an old photo with AI by repairing damage, improving clarity, reducing noise, and bringing faded photographs back to life with simple techniques.