
How to Compress a YouTube Thumbnail Without Losing Quality
Learn how to compress a YouTube thumbnail without losing quality using the right dimensions, file format, compression settings, and simple image optimization techniques.
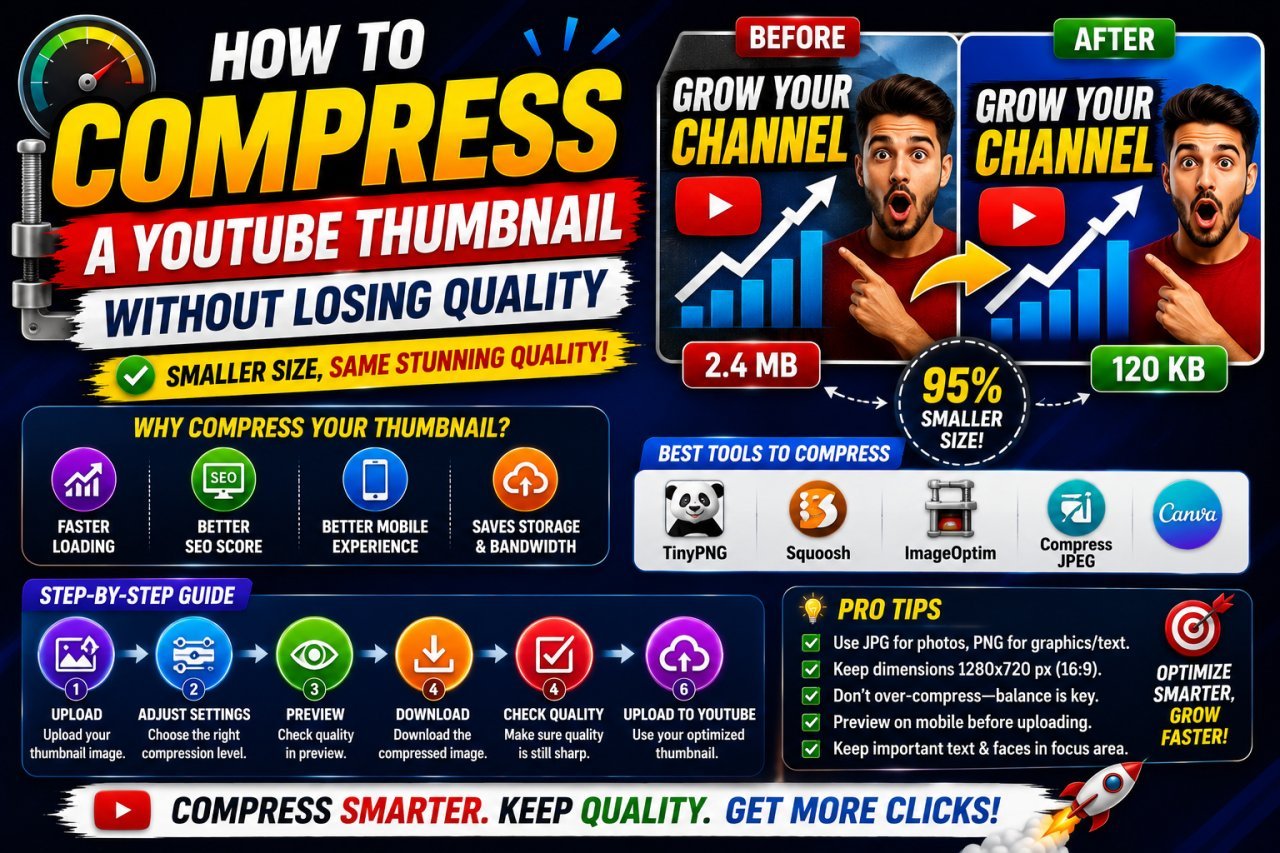
How to Compress a YouTube Thumbnail Without Losing Quality
Introduction
A YouTube thumbnail needs to look sharp enough to attract attention, but there is no reason for the image file to be unnecessarily large.
If your thumbnail is exported at a very high quality, contains unnecessary dimensions, or uses an inefficient format, the file can become larger than necessary. On the other hand, aggressive compression can make text look fuzzy, faces look soft, and fine details disappear. ( imageeditpro )
The goal is to find the middle ground: a smaller thumbnail file that still looks clean and professional.
The good news is that you usually do not need complicated editing software to do this. With the right dimensions, format, and compression level, you can reduce the file size while keeping the visual quality that viewers actually notice.
Why Thumbnail Compression Matters
A thumbnail is one of the first things people see when browsing YouTube.
That means image quality still matters.
A heavily compressed thumbnail may show:
- Blocky areas
- Blurry text
- Rough edges
- Loss of facial detail
- Color banding
- Soft graphics
But keeping a huge image file is not useful either.
Good image optimization is about removing unnecessary file data while preserving the parts of the image that matter.
The basic goal
Think of the process like this:
Original design → Correct dimensions → Suitable format → Controlled compression → Quality check
Do not simply choose the strongest compression available.
Start With the Correct Thumbnail Dimensions
Before compressing your file, check its dimensions.
A commonly used YouTube thumbnail canvas is 1280 × 720 pixels, which has a 16:9 aspect ratio.
If your thumbnail is already designed at an appropriate size, there may be little reason to resize it further.
However, if you created it at something like:
3840 × 2160 pixels
you may be working with three times the width and height of a 1280 × 720 thumbnail.
That means the file can contain far more pixel information than you need for the final thumbnail.
A simple rule
Do not compress a massively oversized image when you can first resize it to a sensible working dimension.
Resizing and compression solve different problems.
Resizing vs. Compression
These two terms are often confused.
Resizing
Resizing changes the number of pixels in the image.
For example:
2560 × 1440 → 1280 × 720
Compression
Compression reduces the amount of data used to store those pixels.
For example:
1280 × 720 high-quality image → 1280 × 720 optimized image
The dimensions remain the same, but the file becomes smaller.
Comparison
| Method | Changes Pixel Dimensions? | Reduces File Size? |
|---|---|---|
| Resizing | Yes | Usually |
| Compression | No | Yes |
| Cropping | Yes, if dimensions change | Often |
| Format conversion | Not necessarily | Often |
For a large thumbnail file, combining resizing and compression can be more effective than relying on compression alone.
Choose the Right Image Format
The format you choose can have a significant effect on file size.
Different formats are suited to different types of images.
JPG
JPG is commonly used for photographs and images containing many colors.
It can create relatively small files using lossy compression.
PNG
PNG can be useful for graphics, transparency, and images where preserving certain details is important.
However, a photographic thumbnail saved as PNG can sometimes be unnecessarily large.
WebP
WebP is a modern image format that can provide efficient compression for many types of web images.
It can be useful when your workflow or destination supports it.
AVIF
AVIF is another modern format designed for efficient image compression.
Whether you should use it depends on your workflow, platform, and compatibility requirements.
Quick comparison
| Format | Common Use | File Size Potential |
|---|---|---|
| JPG | Photos and creator thumbnails | Small to moderate |
| PNG | Graphics and transparency | Moderate to large |
| WebP | Web images and modern workflows | Often efficient |
| AVIF | Modern web delivery | Often very efficient |
There is no single format that is best for every thumbnail.
Compress the Image Gradually
One of the easiest ways to damage a thumbnail is to use maximum compression immediately.
Instead, reduce the quality gradually.
For example:
- Export the original.
- Create a moderately compressed version.
- Compare both.
- Reduce the file size a little more if necessary.
- Stop when the quality is still acceptable.
This gives you much more control.
If a thumbnail looks excellent at 300 KB, there may be little practical benefit in forcing it down to 80 KB if that causes visible damage.
Focus on What Viewers Actually See
You do not need to preserve every tiny detail at any cost.
A YouTube thumbnail is generally displayed much smaller than the original image you see while editing it.
Instead of judging the file only at 100% zoom, preview it at a smaller size.
Ask:
- Can I still read the text?
- Is the face clear?
- Is the main object recognizable?
- Are edges still clean?
- Does the image look natural?
If the answer is yes, your compression level may be appropriate.
Text Needs Special Attention
Text can reveal compression problems quickly.
Suppose your thumbnail contains:
5 BEST TOOLS
If compression is too aggressive, the letters may develop rough edges or become difficult to read.
This is particularly noticeable with:
- Small fonts
- Thin fonts
- White text over detailed backgrounds
- Text with outlines
- Text with shadows
Better approach
Use:
- Bold lettering
- Strong contrast
- Short phrases
- Adequate text size
Then inspect the compressed version carefully.
Faces and Skin Details Can Also Reveal Compression
If your thumbnail contains a person's face, excessive compression can make skin appear unnaturally smooth or create blocky areas around facial features.
Pay attention to:
- Eyes
- Hair
- Skin texture
- Teeth
- Facial outlines
If these details start looking artificial, your compression may be too aggressive.
Avoid Repeated Compression
Suppose you create a thumbnail, save it as a compressed JPG, open that JPG again, make another change, and save it again.
Then you repeat the process several times.
This can gradually reduce image quality.
A better workflow is:
Keep the original design → Make changes → Export one final optimized version
If you need to make another thumbnail later, return to the original design rather than repeatedly editing the already compressed file.
Keep a Master Thumbnail File
If you create thumbnails regularly, keep an editable master file.
Depending on your design software, this might be a project file rather than a JPG or PNG.
For example:
youtube-thumbnail-master
        ↓
final-1280x720.jpg
        ↓
compressed-upload-version.jpg
The master version gives you flexibility.
You can change:
- Text
- Colors
- Images
- Layout
- Background
- Branding
without rebuilding the entire thumbnail.
Use an Image Compressor Carefully
A dedicated image compression tool can make the process much easier.
ImageEditPro's Image Compressor supports common formats including JPG, PNG, GIF, and WebP, and provides compression controls along with a comparison between the original and compressed image.
This makes it easier to see whether you are getting a meaningful file-size reduction while keeping the thumbnail visually acceptable.
You can use it as the final step:
Design → Export → Compress → Compare → Download
Compare Before and After
Never judge compression based only on the new file size.
Compare the original and compressed versions side by side.
Check these areas:
| Area | What to Look For |
|---|---|
| Text | Still sharp and readable |
| Face | Natural details remain |
| Edges | No excessive blocks or halos |
| Background | No distracting artifacts |
| Colors | No obvious color changes |
| Main subject | Still clear |
If the difference is barely noticeable and the file is substantially smaller, the compression is doing its job.
What If Your Thumbnail Is Already Blurry?
Compression will not fix a blurry source image.
If the original thumbnail is soft, compressing it may make the problem more obvious.
Start by improving the source.
ImageEditPro's YouTube Thumbnail Enhancer is specifically designed to upscale and sharpen thumbnails toward a 1280 × 720 output, making it useful when a thumbnail needs quality improvement before final compression.
For more general images, the AI Image Upscaler can also enlarge smaller images while reconstructing detail.
The better workflow is:
Improve first → Compress second
Don't Over-Edit the Thumbnail
Compression works best when the source image is already clean.
If you add excessive:
- Sharpening
- Noise
- Grain
- Text effects
- Glow
- Shadows
- Texture
you may create more visual information for the compressor to process.
That can make the final file larger or produce more visible artifacts.
Keep the design clean before compression.
When PNG Is Too Large
Suppose your thumbnail is a PNG containing a normal photograph.
The file might be much larger than necessary.
If transparency is not required, consider whether JPG or another suitable format would work better.
However, do not convert every PNG automatically.
If your design contains important transparency or graphical elements, check the result after conversion.
The final image should still look correct.
When JPG Is a Better Choice
JPG can be a practical option when your thumbnail mainly contains:
- Photographs
- Faces
- Background images
- Products
- Real-world scenes
- Gradients
Its compression is designed to reduce photographic image data efficiently.
However, very low JPG quality can produce visible artifacts.
The correct approach is not simply "use JPG."
It is:
Use JPG when appropriate, then choose a compression level that preserves the important visual details.
Use WebP When It Fits Your Workflow
WebP can also be useful for image optimization.
It supports both lossy and lossless compression and can be efficient for many web-oriented images.
If you use WebP, check that the platform or workflow where you need the file accepts it.
For example, a website may support WebP easily, while a particular upload system may expect JPG or PNG.
Always follow the requirements of the platform receiving the image.
Common Mistakes When Compressing Thumbnails
Mistake 1: Choosing the Lowest Quality
The smallest file is not automatically the best file.
Mistake 2: Compressing an Oversized Image
Resize unnecessary dimensions first.
Mistake 3: Ignoring Text
Text can become unreadable before the rest of the image looks obviously damaged.
Mistake 4: Repeatedly Saving JPG Files
Use the original master whenever possible.
Mistake 5: Using PNG for Everything
PNG is not automatically the best choice for photographic thumbnails.
Mistake 6: Checking Only File Size
A small file is useless if the thumbnail looks poor.
Mistake 7: Ignoring Mobile Display
A thumbnail that looks good at full size may not look good when displayed small.
Mistake 8: Over-Sharpening After Compression
Too much sharpening can create unnatural edges and artifacts.
A Practical Example
Imagine you have created a YouTube thumbnail at:
3840 × 2160 pixels
and the exported PNG is:
4 MB
That may be unnecessarily large for a standard thumbnail.
A better workflow would be:
Step 1: Resize
Bring the image down to an appropriate thumbnail dimension, such as 1280 × 720.
Step 2: Check the design
Make sure the text and main subject are still sharp.
Step 3: Choose the format
If the image is primarily photographic and does not need transparency, consider a suitable photographic format.
Step 4: Compress
Apply moderate compression.
Step 5: Compare
Check the original and compressed versions.
Step 6: Stop when the quality is good
Do not keep compressing just because you can make the file smaller.
How to Compress a Thumbnail for Different Situations
For YouTube
Prioritize:
- Correct dimensions
- Clear text
- Sharp subject
- Strong contrast
- Appropriate file format
For Website Upload
Prioritize:
- Smaller file size
- Suitable dimensions
- Efficient format
- Visual quality
For Sharing on WhatsApp or Email
Prioritize:
- Reasonable attachment size
- Readability
- Compatibility
For Editing Later
Keep the original or master file rather than relying on the compressed copy.
How to Preserve Quality During Compression
Use this simple checklist:
1. Start with the best source
Do not compress an already damaged image if you can avoid it.
2. Use appropriate dimensions
Avoid unnecessary pixel dimensions.
3. Choose a suitable format
Match the format to the content.
4. Compress moderately
Do not immediately use the lowest quality.
5. Compare the result
Look at the original and compressed versions together.
6. Check text
Make sure important words remain readable.
7. Check faces and fine details
Look for unnatural smoothing or blockiness.
8. Preview at small size
Judge the image in the way viewers are likely to see it.
Pros and Cons of Thumbnail Compression
| Approach | Pros | Cons |
|---|---|---|
| Moderate JPG compression | Smaller files, good for photos | Some detail can be lost |
| PNG | Good for graphics and transparency | Can create large files |
| WebP | Efficient for many web images | Workflow compatibility varies |
| Resizing | Removes unnecessary pixels | Reduces dimensions |
| Aggressive compression | Very small file | More visible quality loss |
| Lossless compression | Preserves image data | File-size reduction may be smaller |
Best Practices for YouTube Thumbnail Optimization
Keep the original
Always keep a high-quality master version.
Use sensible dimensions
Do not create a thumbnail at an unnecessarily huge resolution.
Compress after designing
Do your editing first and optimization afterward.
Compare versions
A visual comparison is more useful than looking at the KB number alone.
Protect text readability
Text should remain clear after compression.
Avoid repeated exports
Return to the master when making changes.
Use modern formats when appropriate
Choose formats based on your actual workflow.
Do not chase the smallest possible file
The objective is efficient quality, not the lowest number.
A Simple Workflow You Can Follow Every Time
Use this process whenever you finish a thumbnail:
Create the design
↓
Check dimensions
↓
Remove unnecessary elements
↓
Improve image quality if needed
↓
Export a high-quality master
↓
Choose a suitable format
↓
Compress moderately
↓
Compare with the master
↓
Check text and important details
↓
Preview at a small size
↓
Upload the final version
This approach gives you a repeatable system instead of guessing every time.
Final Checklist
Before uploading your compressed thumbnail, ask:
- Is the image using sensible dimensions?
- Is the main subject still sharp?
- Is the text readable?
- Are faces and important details natural?
- Is the file smaller than the original?
- Did compression introduce visible artifacts?
- Is the format suitable for your workflow?
- Did you compare the compressed version with the original?
- Did you keep a master copy?
- Does the thumbnail still look good at a small size?
If all of these checks pass, your thumbnail is ready.
Final Thoughts
The best way to compress a YouTube thumbnail without losing noticeable quality is to optimize the image instead of simply destroying quality to reduce the file size.
Start with the correct dimensions, choose an appropriate format, compress gradually, and inspect the result carefully.
Do not judge success only by the number of kilobytes saved.
A thumbnail that is 100 KB smaller but has blurry text and damaged details is not necessarily a better thumbnail.
Instead, aim for the smallest practical file that still looks sharp, readable, and professional.
Keep your original design file, create an optimized copy for upload, and use the same workflow for future thumbnails.
That gives you both flexibility and consistent quality.
Conclusion
Compressing a YouTube thumbnail does not mean you have to accept a blurry or low-quality image.
The most reliable approach is to start with a properly sized thumbnail, select an efficient image format, apply moderate compression, and check the final result before uploading it.
Pay special attention to text, faces, product edges, and other important details. These areas can show compression problems quickly.
Most importantly, keep a high-quality master version. Your compressed file should be treated as an upload copy, not as the only version of your design.
The right goal is not the smallest possible file. It is a smaller file that still looks clean and professional when viewers see it.
FAQs
Frequently Asked Questions
1. How do I compress a YouTube thumbnail without losing quality?
Use the correct dimensions, choose a suitable image format, and apply moderate compression. Compare the compressed version with the original and check text, faces, and important details before uploading.
2. What size should a YouTube thumbnail be?
A commonly used YouTube thumbnail size is 1280 × 720 pixels with a 16:9 aspect ratio. Check YouTube's current requirements before publishing because platform specifications can change.
3. Is JPG or PNG better for YouTube thumbnails?
It depends on the design. JPG is often practical for photographic thumbnails, while PNG can be useful for graphics and transparency. The best choice depends on the image content and your workflow.
4. Why does my compressed thumbnail look blurry?
The compression level may be too aggressive, or the original image may already have limited detail. Try using a better source, reducing compression, or improving the image before compressing it.
5. Should I resize a thumbnail before compressing it?
If the thumbnail is much larger than necessary, resizing it first can reduce unnecessary pixel data. After resizing, you can apply compression to reduce the file size further.
6. Can I compress a PNG YouTube thumbnail?
Yes. PNG files can be compressed, although the amount of reduction depends on the image. If the thumbnail is primarily photographic and does not need transparency, another format may produce a smaller file.
7. How can I make a thumbnail file smaller without making it blurry?
Start with appropriate dimensions, use a suitable format, and reduce compression gradually. Always inspect the final image instead of relying only on the file-size number.
8. Should I keep the original thumbnail after compressing it?
Yes. Keep the original or editable master file. It allows you to make future changes and create new optimized versions without repeatedly editing a compressed image.
9. Does compressing a thumbnail affect text quality?
It can. Small or thin text may become blurry or develop compression artifacts when the image is heavily compressed. Use readable text and check it carefully after optimization.
10. What is the best way to optimize a YouTube thumbnail?
Create the thumbnail at an appropriate size, use a suitable image format, keep important elements sharp and readable, compress moderately, and compare the final version with the original before uploading.
Ready to optimize your images?
Every tool mentioned in this article is free to use. No upload, no signup, and no watermarks — ever.
Try our free toolsRelated articles
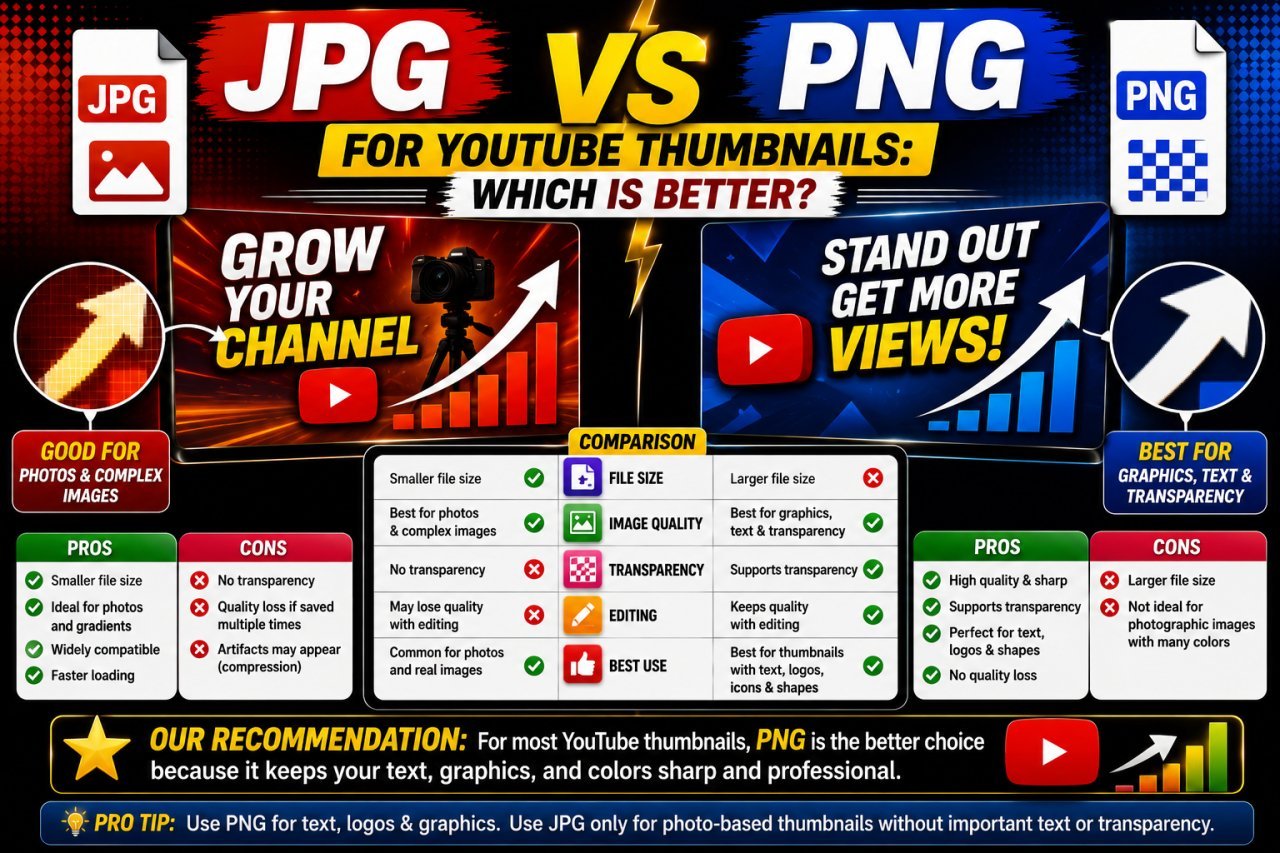
JPG vs PNG for YouTube Thumbnails: Which Is Better?
JPG vs PNG for YouTube thumbnails explained. Learn which format gives better quality, smaller file sizes, sharper text, cleaner graphics, and better results for different thumbnail designs.
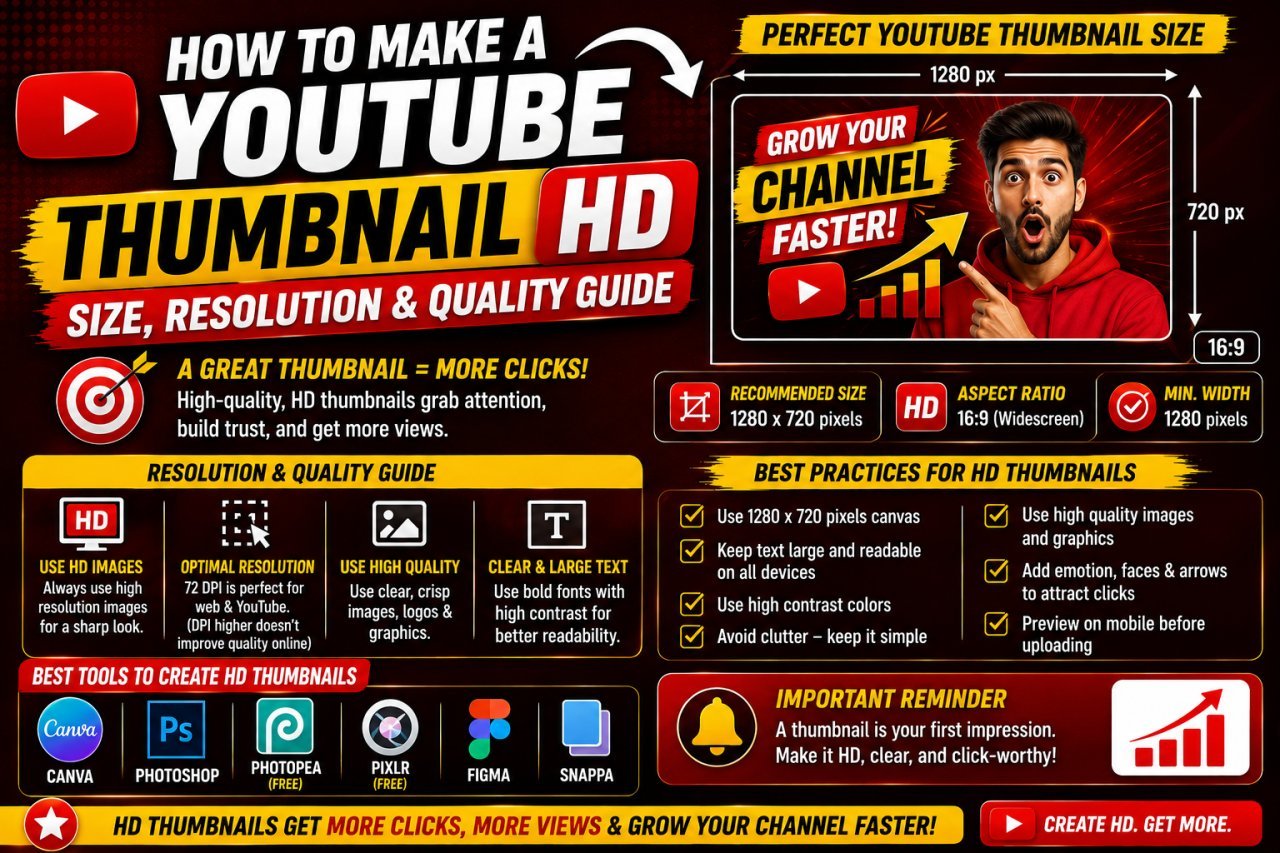
How to Make a YouTube Thumbnail HD: Size, Resolution & Quality Guide
Learn how to make a YouTube thumbnail HD with the right size, resolution, image quality, and export settings. Create sharp thumbnails without blur or pixelation.
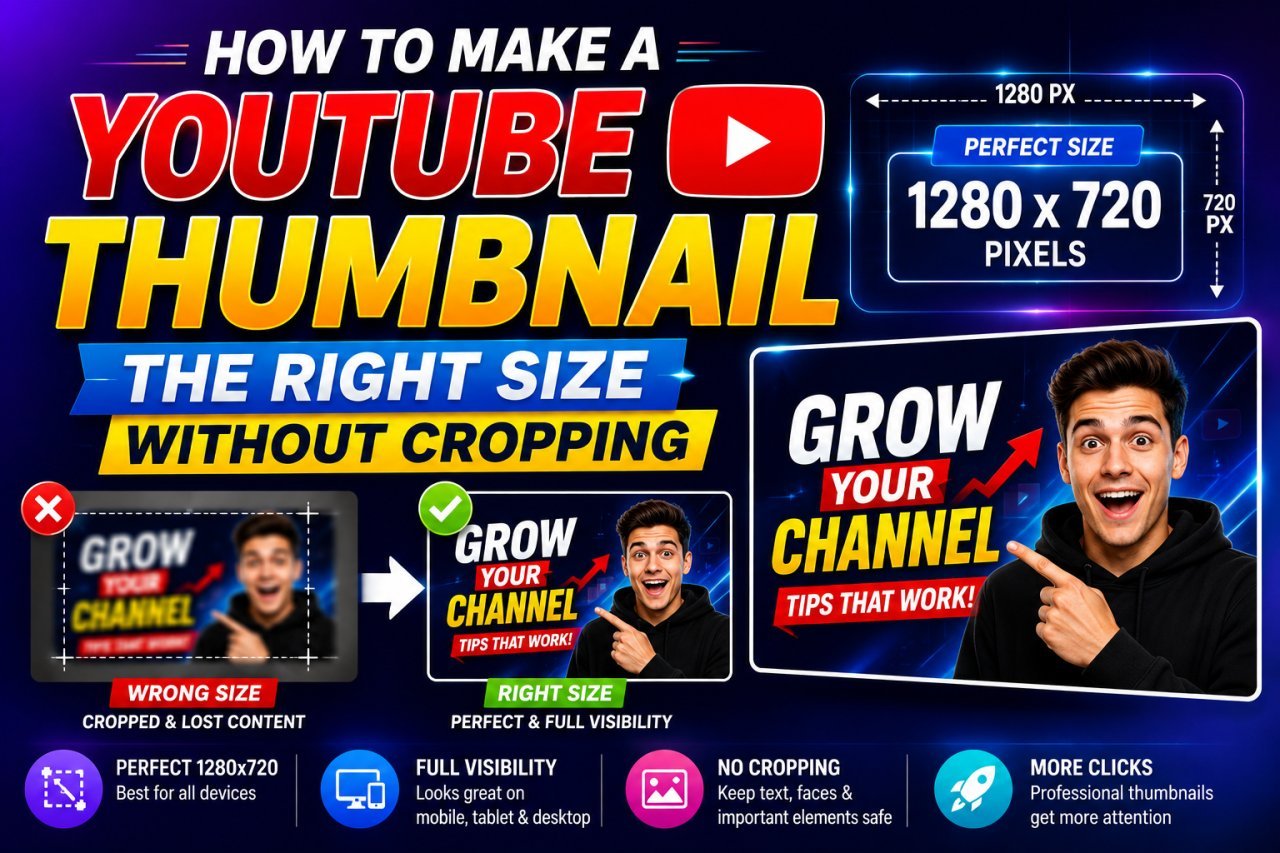
How to Make a YouTube Thumbnail the Right Size Without Cropping
Learn how to make a YouTube thumbnail the right size without cropping. Understand the correct aspect ratio, dimensions, resizing methods, and common mistakes.