
How to Convert Low-Quality Images into HD Using AI (Step by Step)
Got a blurry, pixelated photo you wish was sharper? AI upscaling can genuinely help — when you know its limits. Here's the realistic guide.
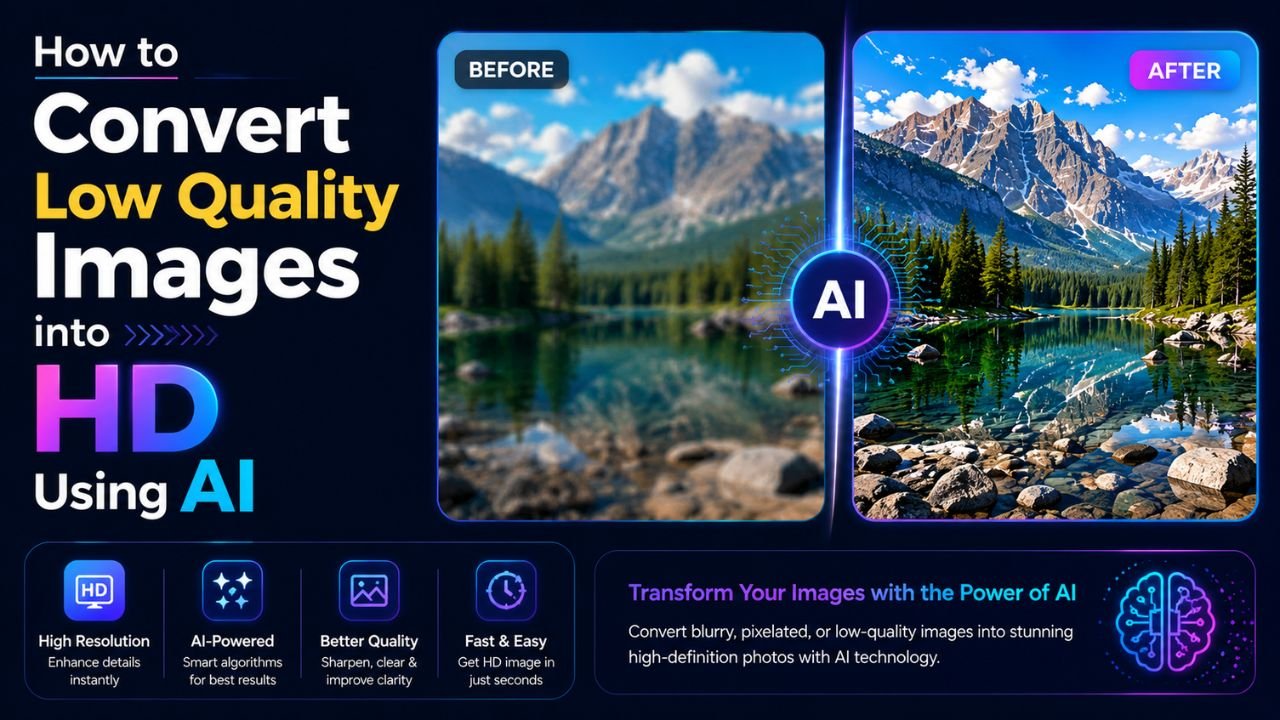
You have a photo. It's small, blurry, or just pixelated when you zoom in. You've heard AI can "enhance" it. Can it actually?
Yes, but with important caveats. Modern AI upscalers genuinely reconstruct detail — they don't just stretch pixels. But they're not magic, and unrealistic expectations are the biggest reason people get disappointed.
What AI upscaling actually does
A regular upscale (bicubic interpolation) takes a 500×500 image and stretches it to 1500×1500 by averaging nearby pixels. You get a bigger image that's still blurry — just blurry at a larger size.
AI upscaling does something fundamentally different:
- The model looks at small patches of your image
- It compares them to millions of similar patches it learned during training
- For each patch, it predicts what the higher-resolution version would look like
- The output is a larger image with invented but plausible detail
The "invented but plausible" part is key. The AI isn't reading minds — it's generating its best guess of how detail at this point would appear if the photo had been taken at higher resolution. Sometimes that guess is excellent. Sometimes it's wrong.
Step 1: Check if your image is actually fixable
Not every low-quality image can be saved. Quick sanity check:
| Image starting state | AI upscale verdict |
|---|---|
| Small but sharp (e.g. 600×400 product photo) | Excellent — usually 2-4× clean |
| Medium with mild noise/blur | Good — denoise + 2× upscale works well |
| Heavily compressed JPEG (blocky artefacts visible) | Mixed — artefacts often get sharpened, not removed |
| Severe motion blur | Limited — needs specific deblur model, not just upscale |
| Tiny (under 200×200) | Poor — not enough information |
| Already high-res but soft | Try sharpening tools instead of upscaling |
Step 2: Pre-process before upscaling
Send the AI the cleanest possible input:
- Strip metadata — sometimes weird EXIF data confuses tools. Use our free EXIF Remover.
- Crop out junk — focus the AI on the subject. Free crop tool.
- Save as PNG before upscaling — re-saving as JPG introduces new artefacts. AI tools accept PNG cleanly.
Step 3: Choose the right upscaler
Free / freemium tools that genuinely work in 2026:
- Upscale.media — free with limited credits, easy interface
- Cutout.pro — free tier, decent quality
- Bigjpg — free up to 4×, slower
- Open-source ESRGAN / Real-ESRGAN — free if you can run Python locally
- Topaz Photo AI / Gigapixel — paid, best results
Avoid:
- Generic "AI Enhancer" mobile apps that aggressively over-sharpen faces
- Anything that lets you upscale to 16× without warnings — that's marketing, not technology
Step 4: Pick the right scale
Common scales: 2×, 3×, 4×.
- 2× upscale: safest, almost always looks better. Use this 80% of the time.
- 3× upscale: still usable, occasional artefacts on edges.
- 4× upscale: noticeable AI "look" creeps in — fine for casual use, risky for professional output.
- Beyond 4×: marketing, not engineering. Quality drops fast.
Pro tip: if you need 4× upscale, do it in two 2× passes instead of one 4× pass. Output usually looks cleaner.
Step 5: Post-process after upscaling
The upscaled file is large. Optimize it:
- Resize down to your actual display needs. AI tools love to output huge files; you usually don't need 4000-pixel images. Use free resize to scale to your real use case.
- Compress for web — AI upscalers usually output uncompressed PNG. Convert to WEBP or JPG quality 80-85 for web use. Try our free JPG to WEBP converter.
- Visual inspection at 100% — zoom in on faces, text, fine textures. Look for "AI smell" (uncanny smooth skin, mangled text).
Common mistakes to avoid
- Upscaling text — you'll get scrambled "looks like text" but isn't actually readable. Recreate the text in a design tool instead.
- Upscaling logos — sharp brand graphics turn fuzzy. Use the original SVG or recreate the logo at the size you need.
- Upscaling for print — 300 DPI print requires more care than upscaling alone provides. Combine with a paid tool for hero shots.
- Forgetting to compress after — defeats the point of optimizing.
Realistic expectations
If your source image is 800×600 of a person, expect:
- 2× → 1600×1200, looking like the original was taken at that resolution
- 4× → 3200×2400, looking decent at viewing distance but slightly "AI" at 100% zoom
If your source is 200×200 of low quality:
- 2× → 400×400, slightly better but still clearly low quality
- 4× → 800×800, looks usable for thumbnails but won't pass for "HD"
The honest truth: AI upscaling makes low-quality images usable for one tier higher than they originally were. It doesn't perform miracles.
Workflow summary
- Clean input (crop, strip metadata, save as PNG)
- Run through a reputable AI upscaler (start at 2×)
- Resize down to your actual use case
- Compress to a sensible format for distribution
- Inspect at 100% before publishing
For the post-AI steps, try our free image tools — resize, crop, compress, convert — all in your browser, no upload.
Ready to optimize your images?
Every tool mentioned in this article is free to use. No upload, no signup, and no watermarks — ever.
Try our free toolsRelated articles
Best AI Image Enhancer Tools in 2026 (Free + Paid Compared)
Eight AI image enhancers tested on the same blurry, low-res, and noisy photos. Some made the cut. Most didn't. Here's what actually works in 2026.
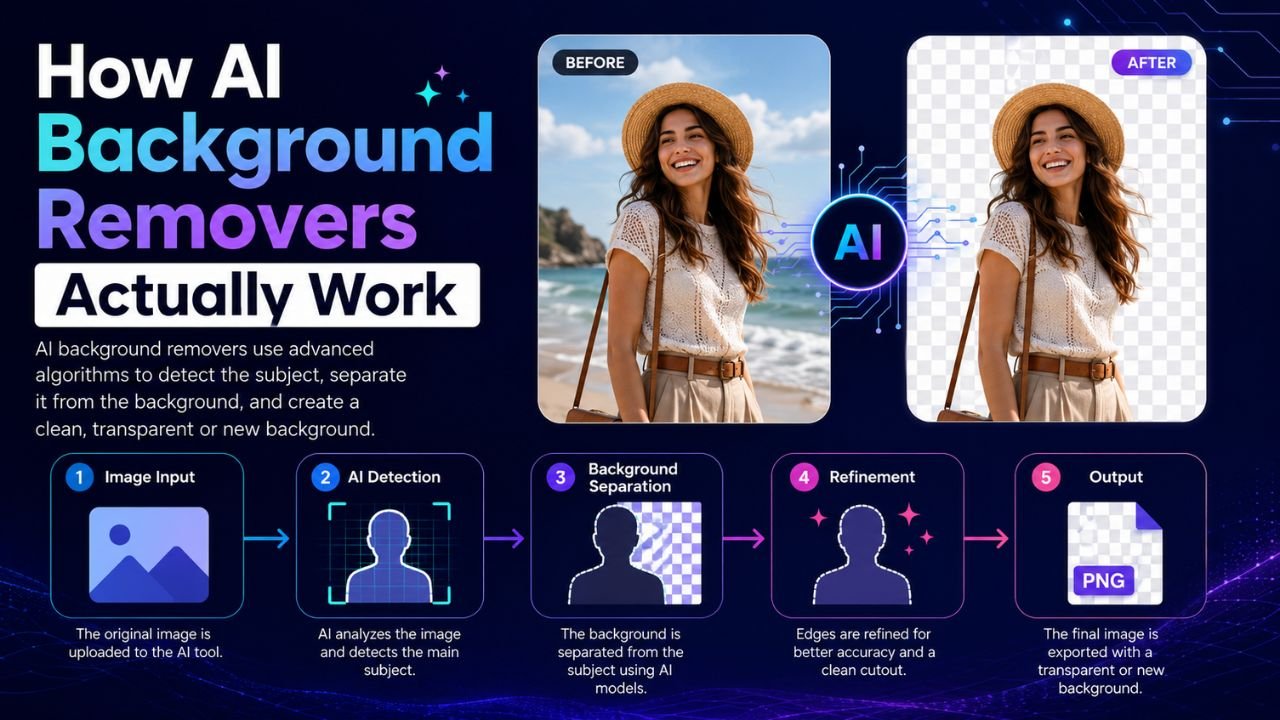
How AI Background Removers Actually Work (Explained Simply)
Behind that magical 2-second background removal is a neural network making millions of decisions. Here's a non-technical look at what's actually happening.
AI vs Manual Photo Editing — Which One Should You Use in 2026?
The honest answer isn't 'AI always wins'. We compared 12 common editing tasks across speed, quality, and control — here's where each approach actually beats the other.