
How to Compress Images Without Losing Quality (5 Methods That Actually Work)
Slash your image file sizes by 50-80% while keeping them visually identical. Five practical methods you can use today, no Photoshop needed.
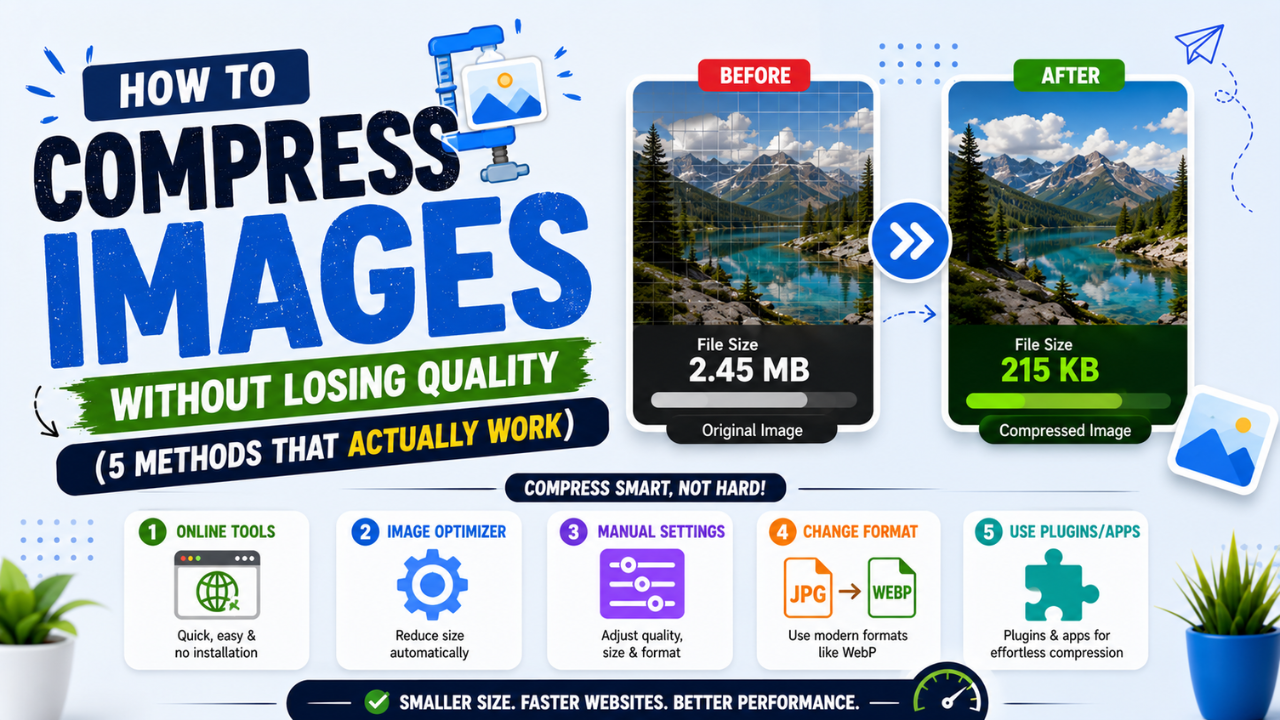
Large images are the #1 reason websites feel slow. A single 5 MB photo can take 4-6 seconds to load on a 4G connection, and Google Search Console will quietly knock your SEO rankings as a result.
The good news: you can usually shrink images by 50-80% without anyone noticing a visual difference. Here are the five methods that actually work — ranked from easiest to most advanced.
1. Use a smart in-browser compressor (the lazy way)
Modern browsers can compress images using the same algorithms that paid software uses. Tools like our Image Compressor run 100% locally — your images never leave your device.
How it works:
- Drop your image in the dropzone
- Pick a quality between 60-80 (sweet spot for JPG)
- Download the smaller version
Typical result: a 4 MB phone photo becomes ~800 KB with no visible difference.
2. Choose the right format
The format you save in matters more than the compression level. Quick guide:
| Image type | Best format | Typical savings |
|---|---|---|
| Photos | JPG (quality 75-85) | 60-80% smaller than PNG |
| Logos, screenshots, graphics with sharp edges | PNG or SVG | Lossless, sharp |
| Web hero images, illustrations | WEBP | 25-35% smaller than JPG |
| Animated banners | WEBP or AVIF | Way smaller than GIF |
Converting from PNG to JPG or WEBP can shrink a file by 70%+ before you even adjust quality. Try our free PNG to JPG, JPG to WEBP, or PNG to WEBP converters.
3. Resize before you compress
A photo straight from a phone might be 4000×3000 pixels — but your blog only displays it at 800×600. You're forcing every visitor to download 25× more pixels than they need.
Best practice:
- Hero images: max 1920px wide
- Inline blog images: max 800-1200px wide
- Thumbnails: 200-400px wide
Use the Image Resize tool to scale down before compressing. The two together typically shrink a 4 MB photo to under 300 KB.
4. Strip metadata
Phone photos carry hidden EXIF metadata: GPS coordinates, camera model, sometimes even the photographer's serial number. This data:
- Inflates file size by 50-200 KB per image
- Leaks privacy (location data published with your blog post)
- Doesn't help anyone viewing the photo
Strip it in one click with our EXIF Remover — privacy + size win.
5. Compress in batches (for whole folders)
Compressing one image at a time gets old fast. If you have 50 product photos to optimize, use a bulk compressor that handles them all at once and packages everything into a single ZIP.
Pro tip: pick "Balanced" preset for the best size/quality tradeoff on most photos. Use "Max Compression" only if file size matters more than quality.
Quality settings cheat sheet
For lossy formats (JPG, WEBP):
| Quality | Use for |
|---|---|
| 90-100 | Hero images, photography portfolios |
| 75-85 | Blog post images, product photos (sweet spot) |
| 60-70 | Thumbnails, social media previews |
| < 60 | Generally too aggressive — visible artifacts |
For PNG, the "quality" slider in tools like ours typically reduces the color palette (8-bit PNG) — works great for screenshots and graphics, bad for photos.
The bottom line
You don't need Photoshop or a paid SaaS to compress images properly. Pick the right format, resize to what you actually display, strip metadata, and use a quality setting between 75 and 85. That alone solves 90% of image-bloat problems.
Try our free Image Compressor — no signup, no upload, your photos stay on your device.
Ready to optimize your images?
Every tool mentioned in this article is free to use. No upload, no signup, and no watermarks — ever.
Try our free toolsRelated articles
How to Compress an Image to 100 KB (or 50 KB & 20 KB) Without Losing Quality
Online forms and exam portals often reject photos that are too big. Here's how to shrink any image to exactly 100 KB, 50 KB, or 20 KB in seconds — free, in your browser, with no quality drop you can actually see.
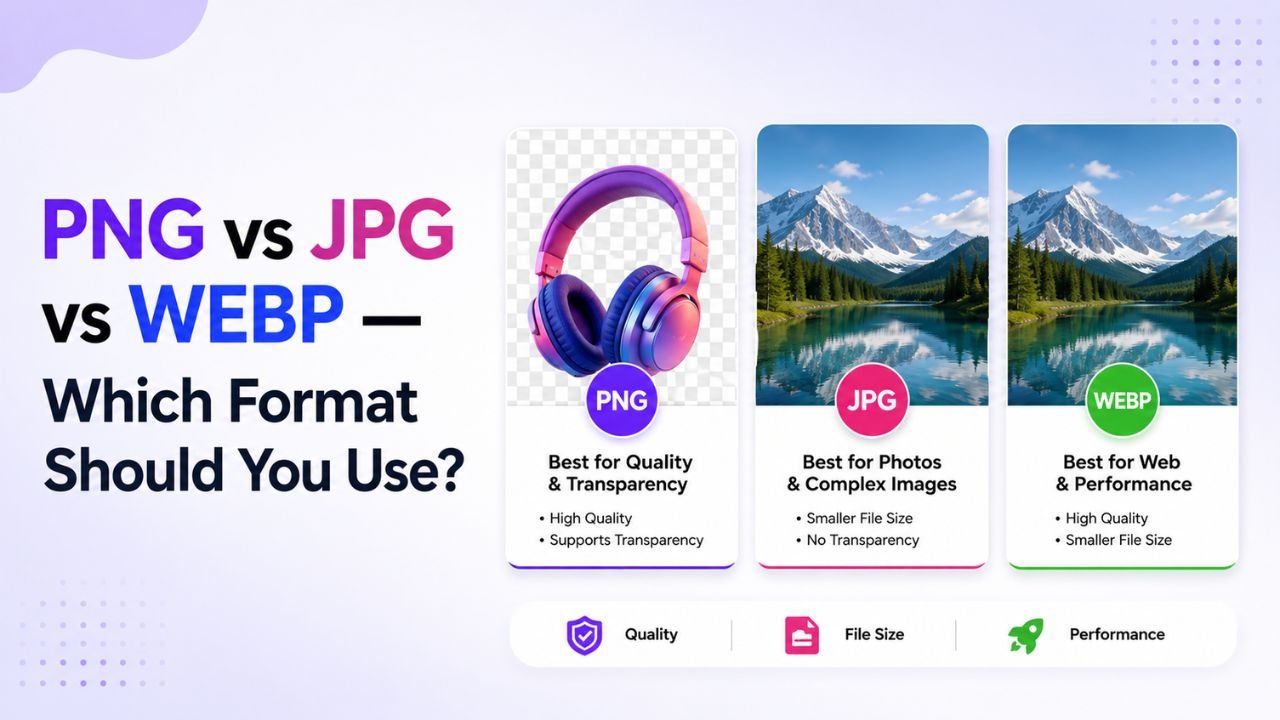
PNG vs JPG vs WEBP — A Decision Tree for Picking the Right Format
Stop guessing image formats. This decision tree walks you to the right answer in 3 questions or fewer — regardless of your specific image.
How Far Can You Compress a Photo Before Anyone Notices?
There's a science to picking the exact quality setting where files shrink dramatically but no human can spot the difference. Here's how to find that sweet spot every time.