
How to Make a Low-Quality Image HD Online
Learn how to make a low-quality image HD online using image upscaling, sharpening, resizing, noise reduction, and practical quality improvement techniques.
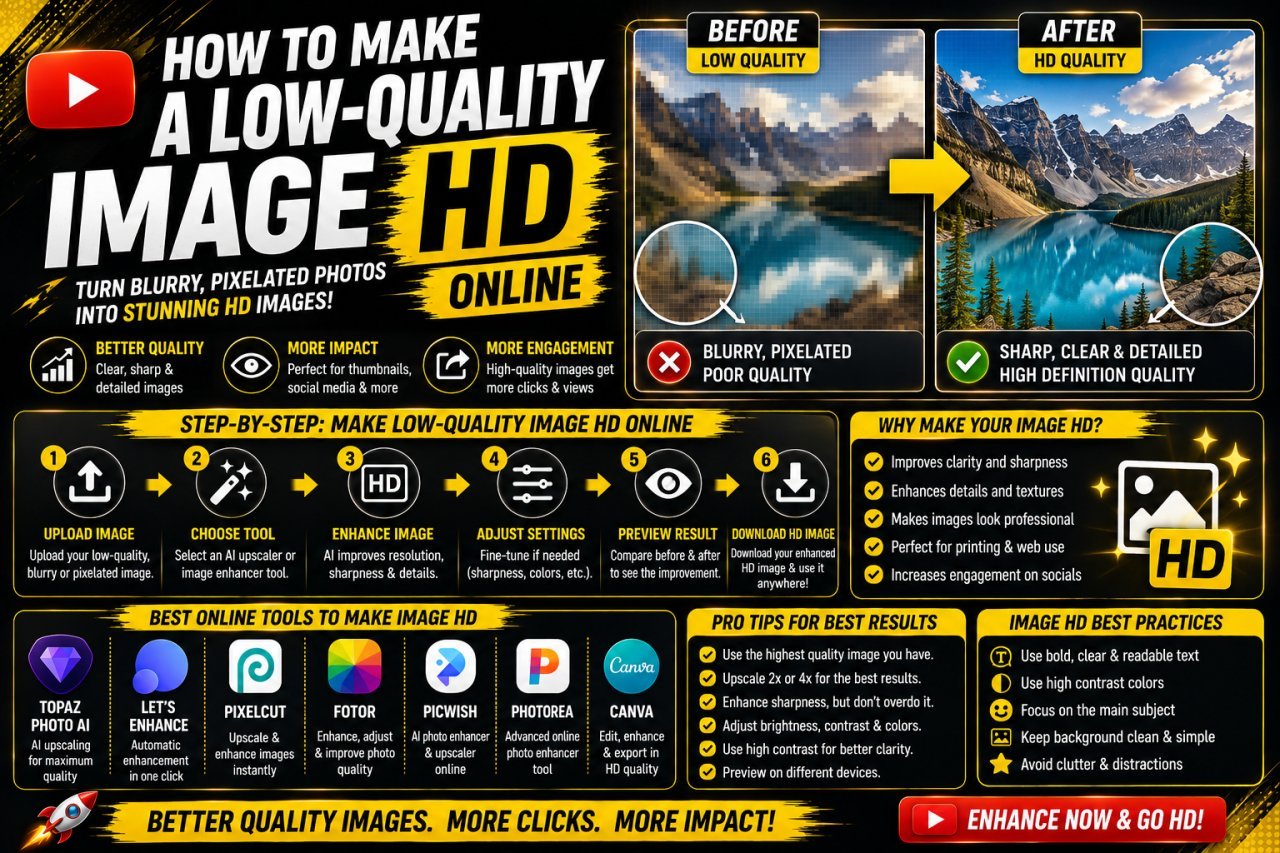
How to Make a Low-Quality Image HD Online
Introduction
If you have an old, blurry, small, or low-resolution photo, you may be wondering how to make a low-quality image HD online without spending hours learning complicated editing software.
The good news is that modern online image tools make it much easier to improve an image. Depending on the original file, you can increase its resolution, sharpen important details, reduce noise, improve contrast, and make the final image look cleaner.
However, there is an important difference between increasing image resolution and actually recovering lost detail.
Simply changing an image from a small size to a larger size does not automatically make it a true high-quality image. The editing software has to estimate or interpolate additional pixels. More advanced enhancement tools may produce better-looking results, but the quality of the original image still matters.
For example, a slightly blurry 1200 × 800 photo may respond much better to enhancement than an extremely compressed 200 × 150 image.
This guide explains practical ways to make a low-quality image look better online, what techniques to use, what mistakes to avoid, and how to decide when an image is simply too damaged to recover naturally.
What Does "Make an Image HD" Actually Mean?
When people say they want to make a low-quality image HD, they may mean several different things.
They might want to:
- Increase the image dimensions
- Make a blurry photo look sharper
- Improve fine details
- Reduce visible noise
- Remove compression artifacts
- Improve facial clarity
- Prepare an image for printing
- Make an old photo look cleaner
- Use a small image in a larger design
- Prepare a better image for social media or websites
- All Tools
These are related problems, but they are not exactly the same.
Resolution vs Image Quality
Resolution describes the number of pixels in an image.
For example:
| Image Size | Pixel Dimensions | General Description |
|---|---|---|
| Small | 640 × 480 | Low-resolution for many modern uses |
| HD | 1280 × 720 | 720p |
| Full HD | 1920 × 1080 | 1080p |
| 2K/QHD | 2560 × 1440 | Higher-resolution image |
| 4K/UHD | 3840 × 2160 | Very high pixel dimensions |
Increasing the pixel dimensions can make an image physically larger, but it doesn't automatically recreate details that weren't captured in the original.
That's why upscaling and image enhancement are often used together.
Why Does a Low-Quality Image Look Bad?
Before trying to improve an image, it helps to identify what is actually wrong with it.
A low-quality image may suffer from one or several problems.
1. Low Resolution
The image simply doesn't contain enough pixels.
This is common with:
- Old web images
- Small profile pictures
- Screenshots
- Images downloaded from messaging apps
- Small thumbnails
When you enlarge these images, individual pixels can become visible.
2. Blur
A photo may be blurry because of:
- Camera movement
- Subject movement
- Poor focus
- Incorrect capture settings
- Excessive resizing
Sharpening can sometimes improve the appearance, but it cannot guarantee restoration of details that were never captured clearly.
3. Compression
Images saved repeatedly with lossy compression can develop visible artifacts.
You may notice:
- Blocky areas
- Smudged details
- Rough edges
- Loss of texture
Starting with the original file is usually better than trying to repair a heavily compressed copy.
4. Noise
Low-light photographs often contain unwanted grain or colored speckles.
Noise reduction can make an image look cleaner, but too much noise reduction can also remove useful detail.
5. Pixelation
Pixelation occurs when the individual pixels become visibly noticeable, particularly after an image has been enlarged significantly.
How to Make a Low-Quality Image HD Online
The basic process is straightforward.
Step 1: Find the Best Original Image
Before editing, search for the highest-quality version you already have.
Check:
- Your phone gallery
- Camera storage
- Cloud backups
- Original project files
- Computer folders
- External drives
If you received the image through a messaging or social platform, ask whether the sender has the original file.
A better source image is usually more valuable than stronger editing.
Step 2: Check the Image Dimensions
Find the current width and height.
For example:
640 × 480 pixels
is significantly smaller than:
1920 × 1080 pixels
If you know the intended use, choose an appropriate output size rather than enlarging the image unnecessarily.
Step 3: Upload the Image to an Online Editor
Choose an online image editor or enhancement tool that supports the adjustments you need.
Depending on the tool, you may find features such as:
- Image upscaling
- Sharpening
- Noise reduction
- Contrast adjustment
- Brightness adjustment
- Resolution controls
- Cropping
- Compression controls
Use the original image as your starting point.
Step 4: Upscale the Image
Upscaling increases the pixel dimensions of the image.
For example:
1000 × 700 → 2000 × 1400
This creates a larger image.
Some advanced enhancement tools can also attempt to improve perceived detail during the enlargement process.
Step 5: Inspect the Result
Don't immediately assume the largest output is the best.
Zoom in and look at:
- Faces
- Hair
- Eyes
- Text
- Product edges
- Buildings
- Fine patterns
Then zoom back out.
An enhanced image should look natural at its intended viewing size.
Basic Upscaling vs AI Image Enhancement
There are two broad approaches to increasing image size.
Basic Upscaling
Basic resizing uses interpolation to calculate new pixels between existing pixels.
Advantages:
- Fast
- Simple
- Widely available
- Useful for modest size changes
Limitations:
- Doesn't truly recreate missing detail
- Large enlargements can remain soft
- Pixelation may become more visible
AI-Assisted Enhancement
AI-based enhancement tools use trained models to estimate image details while increasing resolution.
Depending on the image, this may produce a more convincing result than basic enlargement.
However, the result is still an enhancement or reconstruction, not a guaranteed recovery of the original photograph.
AI enhancement can sometimes produce unwanted details or unnatural textures.
This is especially worth checking in:
- Faces
- Hands
- Hair
- Text
- Logos
- Repeating patterns
Use the result only after checking it carefully.
When Can a Low-Quality Image Be Improved Successfully?
Not every image has the same starting point.
A useful rule is:
The better the original source, the more useful enhancement becomes.
For example:
| Original Image | Likely Improvement |
|---|---|
| Slightly soft, good-resolution photo | Often good |
| Moderately low-resolution photo | May improve significantly |
| Small but reasonably clean image | Can be useful for moderate enlargement |
| Heavily compressed image | Limited |
| Extremely tiny image | Limited |
| Severely blurred photograph | Often difficult |
| Pixelated text | Better to recreate the text |
| Damaged or corrupted image | May require a different source |
Don't judge an enhancement tool only by how impressive the largest possible output looks.
The important question is whether the final image looks natural, clear, and appropriate for its intended use.
Use Sharpening After Resizing
Once the image has been enlarged, it may look slightly softer.
A small amount of sharpening can help.
Sharpening increases local contrast around edges, making them appear more defined.
It can be useful for:
- Product edges
- Hair
- Clothing details
- Objects
- Architectural lines
But sharpening should be used carefully.
Signs of Excessive Sharpening
If you see:
- Bright halos around objects
- Dark outlines
- Excessive grain
- Rough skin
- Jagged edges
- Artificial textures
reduce the sharpening level.
Sharpening can improve perceived clarity, but it cannot replace missing image information.
Reduce Noise Carefully
If your original image contains significant noise, reducing it before or during enhancement may help create a cleaner result.
Noise can appear as:
- Grain
- Colored speckles
- Random texture
- Uneven patches
However, aggressive noise reduction can make a photograph look plastic or overly smooth.
A good approach is to reduce enough noise to clean the image while preserving important texture.
For portraits, be especially careful around:
- Skin
- Hair
- Eyebrows
- Eyes
- Clothing
The goal is a clean photograph, not a completely texture-free image.
Improve Brightness and Contrast
Sometimes an image appears low quality simply because it is poorly exposed.
A few basic adjustments can improve its appearance.
You can experiment with:
- Brightness
- Contrast
- Highlights
- Shadows
- Exposure
For example, if a subject is too dark against a dark background, a small brightness or shadow adjustment may make the subject easier to see.
Don't push these settings too far.
Extreme contrast can remove subtle details, while excessive brightness can wash out important areas.
Don't Stretch the Image
One of the simplest mistakes is stretching an image to fit a required size.
For example, suppose your original image is:
1200 × 800
but your design requires a different proportion.
Dragging the image until it fills the entire space can distort the subject.
Faces may look wider.
Buildings may look narrower.
Products may appear stretched.
Instead:
- Lock the aspect ratio.
- Crop when appropriate.
- Add background space when necessary.
- Keep the subject's natural proportions.
Maintaining the original proportions usually produces a more professional result.
Keep Your Original File Safe
Before making changes, create a copy.
For example:
Original.jpg
Then work from:
Original-enhanced.jpg
This gives you a clean backup if the enhancement produces a poor result.
It also allows you to try different settings without repeatedly modifying the same compressed file.
A Simple Workflow for Beginners
If you're new to image enhancement, don't change everything at once.
Use this basic sequence:
Original image
↓
Check dimensions
↓
Upscale moderately
↓
Reduce noise if necessary
↓
Adjust brightness and contrast
↓
Apply light sharpening
↓
Check details
↓
Export the final image
This workflow is easier to control than applying several aggressive filters simultaneously.
Advanced Ways to Make a Low-Quality Image HD Online
Once you've tried basic resizing and sharpening, you can use a more controlled workflow to get better results. The main goal is to increase usable detail without making the image look artificial.
A practical workflow is:
Upscale → Adjust → Sharpen → Clean up → Export
This gives you more control over the final appearance.
Use the Right Upscaling Amount
Don't Always Choose the Maximum Resolution
A common mistake is selecting the largest available output simply because it sounds better.
For example, if your original image is 800 × 600 pixels, you might not need to turn it into an extremely large file.
A moderate enlargement may preserve a more natural appearance.
| Original | Moderate Upscale | Large Upscale |
|---|---|---|
| 640 × 480 | 1280 × 960 | 3840 × 2880 |
| 800 × 600 | 1600 × 1200 | 3200 × 2400 |
| 1000 × 750 | 2000 × 1500 | 4000 × 3000 |
| 1280 × 720 | 1920 × 1080 | 3840 × 2160 |
The right output depends on where you plan to use the image.
A profile image, website image, YouTube thumbnail, and print document do not necessarily need the same dimensions.
Choose the Output Size Based on the Final Use
Before enhancing the image, decide what you're actually going to do with it.
For Websites
A website image doesn't always need enormous dimensions.
A properly sized image can provide a good balance between appearance and loading performance.
For Social Media
Use the dimensions appropriate for the platform and content type.
Don't enlarge an image to several times the required size without a reason.
For YouTube Thumbnails
For standard horizontal YouTube video thumbnails, YouTube currently recommends a 16:9 aspect ratio and lists 3840 × 2160 pixels as its recommended thumbnail size. Its documentation also specifies a minimum width of 640 pixels.
For Printing
Print quality depends on more than pixel dimensions.
The physical print size, image dimensions, and intended viewing distance all matter.
If you're preparing an image for printing, check the requirements of the printer or printing service before choosing the final resolution.
How to Improve a Low-Quality Face
Faces are one of the most difficult parts of a low-quality image because viewers notice unnatural facial details very quickly.
If you're enhancing a portrait:
- Start with the best original image.
- Crop carefully.
- Upscale moderately.
- Check the eyes and facial edges.
- Apply only light sharpening.
- Avoid excessive smoothing.
- Compare the enhanced result with the original.
Watch for Artificial Facial Details
An enhancement tool may produce details that weren't clearly present in the source.
Check:
- Eyes
- Teeth
- Eyebrows
- Hair
- Skin texture
- Ears
- Facial contours
If these areas look unnatural, try a less aggressive enhancement or find a better original photograph.
How to Make Text in a Low-Quality Image Clearer
Text is different from photographs.
If the text is already part of a tiny raster image, enlarging it may leave the letters blurry.
For important text, a better approach is often to recreate it.
For example, if you have a small promotional graphic containing:
SALE 50% OFF
and the original lettering is pixelated, don't keep enlarging the same letters.
Instead:
- Remove or cover the old text.
- Choose a readable font.
- Type the message again.
- Adjust the size.
- Add appropriate spacing.
- Export it with the rest of the design.
This gives you much cleaner typography.
How to Fix a Low-Quality Screenshot
Screenshots are a common source of low-quality images.
A screenshot may be small because it was captured from:
- A website
- A video
- A mobile app
- A social media post
- A presentation
- A video call
Better Screenshot Workflow
If possible, go back to the original source.
Instead of enlarging a small screenshot:
Original website/image/video → capture at a larger size → edit → export
This is usually better than:
Small screenshot → extreme enlargement → sharpening
If you only have the screenshot, moderate upscaling may still make it more useful.
How to Fix an Old or Blurry Photo
Old photographs often have several problems at once.
You may see:
- Low resolution
- Faded colors
- Dust
- Scratches
- Noise
- Blur
- Uneven exposure
Don't try to solve every problem with one filter.
Use a step-by-step process.
Recommended Workflow
- Scan or photograph the original at the highest practical quality.
- Crop unwanted edges.
- Upscale the image.
- Reduce noise.
- Correct brightness and contrast.
- Sharpen carefully.
- Review the image.
The goal is a cleaner photograph that still looks natural.
Common Mistakes to Avoid
Mistake 1: Changing Only the Pixel Dimensions
Changing an image from 500 × 500 to 2000 × 2000 doesn't automatically create four times the detail.
Mistake 2: Using Maximum AI Enhancement
More enhancement isn't always better.
Strong processing can produce strange textures and unrealistic faces.
Mistake 3: Sharpening Before Understanding the Problem
If the image contains compression artifacts, sharpening may make those artifacts more obvious.
Mistake 4: Saving the Image Again and Again
Keep a high-quality master file.
Export copies for different uses rather than repeatedly editing and resaving the same compressed file.
Mistake 5: Stretching the Image
Always maintain the correct proportions unless intentional distortion is part of the design.
Mistake 6: Ignoring File Format
Your final format should match the use case.
Mistake 7: Judging Only While Zoomed In
An image can look imperfect at extreme zoom while appearing perfectly usable at normal viewing size.
Always check both.
Best Practices for Online Image Enhancement
1. Keep the Original
Never overwrite your only copy.
Keep the original image untouched.
2. Make One Major Change at a Time
Try upscaling first.
Then evaluate.
After that, adjust noise, contrast, or sharpening as needed.
3. Don't Overprocess
The best enhanced image should still look like the original subject.
If the photograph starts looking plastic, painted, or strangely detailed, you've probably gone too far.
4. Use a Clean Export
When the image is finished, export it using appropriate quality settings.
Avoid unnecessary compression.
5. Check the Final Image on Multiple Screens
If the image is important, check it on:
- Desktop
- Mobile
- Large display
6. Compare With the Original
Keep the original beside the enhanced version.
Ask:
"Is the new image actually better?"
Don't assume an edited image is better simply because it has more pixels.
Practical Example: Turning a Small Image Into a Larger Image
Suppose you have a 700 × 500 pixel photograph.
You need a larger version for a website banner.
Poor Workflow
700 × 500 → 4000 × 2857 → heavy sharpening → repeated JPG exports
This can create a large file that still looks poor.
Better Workflow
700 × 500 original → moderate upscale → light enhancement → careful sharpening → correct crop → final export
If the original is still too soft, try another source image rather than continually increasing the enhancement.
Conclusion
Learning how to make a low-quality image HD online is mostly about using the right workflow rather than simply increasing the image size.
Start with the highest-quality original file you can find. Then choose an appropriate output size, upscale the image carefully, reduce unwanted noise, adjust brightness and contrast, and apply moderate sharpening when needed.
If an image is extremely small, heavily compressed, or severely blurry, no online tool can guarantee that all lost detail will be restored. In these situations, finding a better original image is often the most effective solution.
For the best results, avoid aggressive editing. An image that looks natural and clear is usually better than one that has been heavily processed.
A simple workflow to remember is:
Original image → Upscale → Enhance → Adjust → Sharpen → Review → Export
The final goal isn't simply to create a file with more pixels. It's to create an image that looks clean, natural, and suitable for its intended use.
Call To Action
Have a small, blurry, or low-resolution image that needs improvement?
Use an online image enhancement workflow to resize, upscale, sharpen, and improve your image quality without installing complicated editing software.
Start with your best original image, make only the adjustments you need, and compare the final result before downloading it.
Ready to improve your image? Upload your low-quality photo and turn it into a cleaner, more usable version online.
1. How can I make a low-quality image HD online?
You can make a low-quality image larger and improve its appearance using an online image upscaler or enhancement tool. A typical workflow includes upscaling, noise reduction, contrast adjustment, and careful sharpening. The final result depends heavily on the quality of the original image.
2. Can I convert a low-resolution image to HD?
Yes, you can increase its pixel dimensions to an HD resolution such as 1280 × 720 or 1920 × 1080. However, increasing the dimensions does not guarantee that missing details will be restored. Enhancement tools may improve the appearance, but the original source still matters.
3. How do I improve image quality without Photoshop?
You can use an online image editor or image enhancement tool. Depending on the service, you can resize, upscale, sharpen, reduce noise, adjust brightness and contrast, crop the image, and export the finished version directly from your browser.
4. Does AI upscaling really improve image quality?
AI upscaling can improve the appearance of some low-resolution images by estimating additional details during enlargement. However, it cannot guarantee recovery of information that was completely missing from the original. Results can also vary with faces, text, logos, and complex patterns.
5. What is the best resolution for an HD image?
HD commonly refers to 1280 × 720 pixels, while Full HD refers to 1920 × 1080 pixels. The best resolution depends on how the image will be used. Choose a size appropriate for the final platform instead of automatically selecting the largest possible resolution.
6. Can sharpening make a blurry image HD?
Sharpening can make edges appear more defined, but it does not turn a blurry image into a genuinely high-detail image. Too much sharpening can create halos, noise, and unnatural edges, so it should be used moderately.
7. Why does my image look blurry after upscaling?
An image can look blurry after upscaling because the original file may not contain enough detail for the larger dimensions. Basic resizing has to estimate additional pixels, which can result in softness. Using a better source or an appropriate enhancement tool may produce a better result.
8. How can I make an old photo clearer?
Start with the highest-quality scan or original photograph available. You can then reduce noise, correct brightness and contrast, upscale the image, and apply moderate sharpening. For damaged photographs, restoration may also require removing scratches or other visible defects.
9. Can I make a 480p image 1080p?
You can resize a 480p image to 1080p dimensions, but the output will not automatically contain the same level of detail as an original 1080p image. Upscaling can make the file larger and potentially improve its appearance, but it cannot guarantee the recovery of missing information.
10. What should I do if an image is too low quality to enhance?
First, look for the original image or a higher-resolution version. If no better source exists, try moderate upscaling and careful enhancement. If faces, text, or important details remain severely damaged, replacing the image may produce a better result than applying increasingly strong filters.
Ready to optimize your images?
Every tool mentioned in this article is free to use. No upload, no signup, and no watermarks — ever.
Try our free toolsRelated articles
How to Increase Image Size Without Losing Quality
Want to make a small image larger without making it blurry? Learn practical ways to increase image size, improve resolution, reduce pixelation, and keep photos, graphics, and text as clear as possible.
How to Make an Image Clearer Online: Easy Quality Tips
Learn how to make an image clearer online by improving sharpness, reducing blur, adjusting lighting, and increasing resolution with practical methods.
How to Make a Small Image Bigger Without Losing Quality
Learn how to make a small image bigger without losing quality using proper resizing, image upscaling, sharpening, cropping, and export techniques.