
How to Resize a Photo to 3.5 × 4.5 cm Online
Learn how to resize a photo to 3.5 × 4.5 cm online, including pixels, DPI, aspect ratio, file size, cropping, and photo upload requirements.
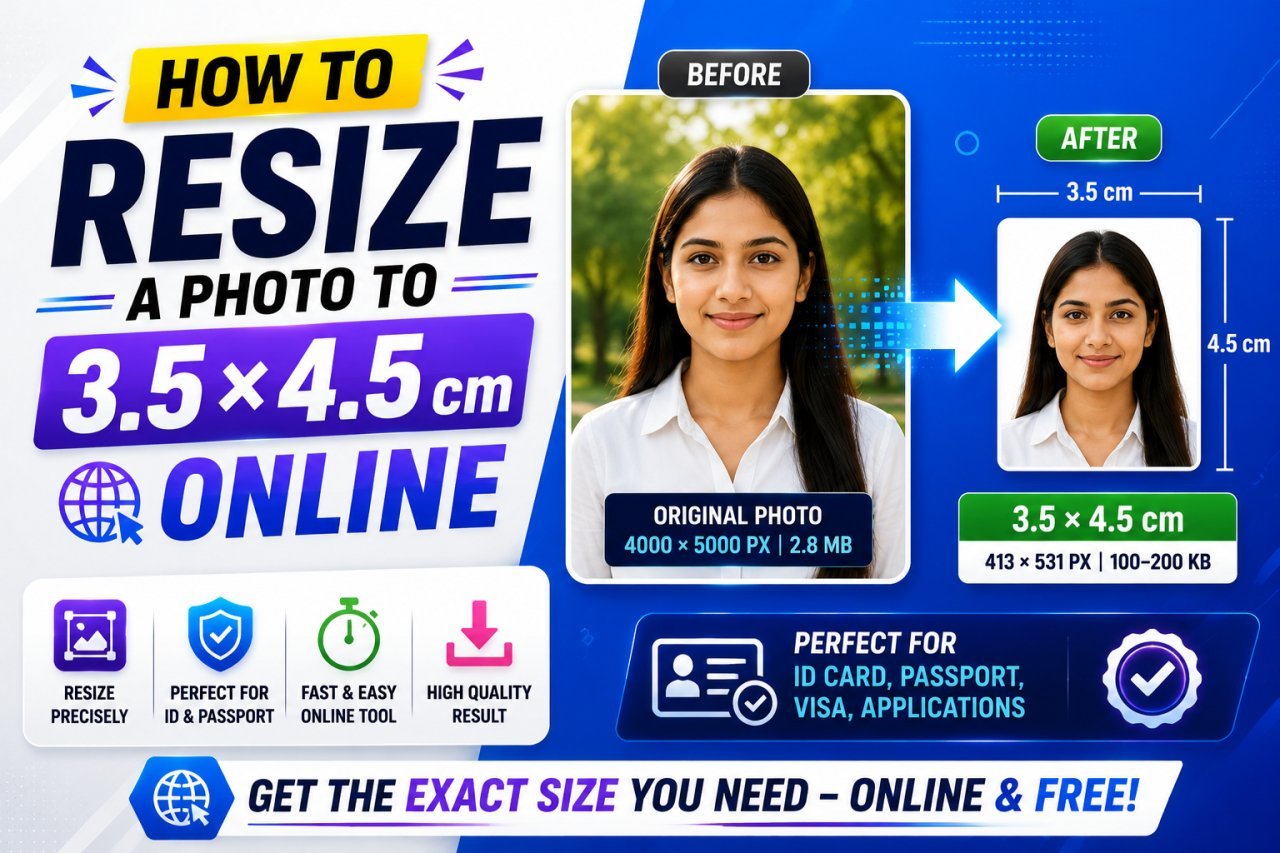
How to Resize a Photo to 3.5 × 4.5 cm Online
Introduction
Need to resize a photo to 3.5 × 4.5 cm for an application, identification document, visa form, exam form, registration portal, or another official upload?
You are not alone.
Many online forms specify a photo size in centimeters, while the image editor asks for pixels. Some websites also require a particular file size, image format, DPI, background, or aspect ratio.
That can make a simple photo resize surprisingly confusing.
The good news is that you do not need complicated photo-editing software.
You mainly need to understand three things:
Physical size + pixel dimensions + image quality
This guide explains how to resize a photo to 3.5 × 4.5 cm online, how to convert the size into pixels, how to crop the image correctly, what DPI means, and how to prepare the final photo for an online application.
What Is a 3.5 × 4.5 cm Photo Size?
A 3.5 × 4.5 cm photo means:
- Width: 3.5 cm
- Height: 4.5 cm
The photo has a portrait orientation.
The aspect ratio is:
3.5 : 4.5
or approximately:
0.778 : 1
This is important because simply changing the width and height without cropping can stretch or distort the photograph.
For example, if your original photo is a wide landscape image, forcing it directly into a 3.5 × 4.5 cm rectangle can make the person look unnaturally stretched.
A better approach is:
Crop → Set aspect ratio → Resize → Export
3.5 × 4.5 cm Photo Size in Pixels
This is one of the most common questions.
There is no single pixel size for 3.5 × 4.5 cm.
The pixel dimensions depend on the DPI or PPI setting.
Here are some common examples:
| DPI/PPI | Width | Height |
|---|---|---|
| 72 DPI | 99 px | 128 px |
| 96 DPI | 132 px | 170 px |
| 150 DPI | 207 px | 266 px |
| 200 DPI | 276 px | 354 px |
| 300 DPI | 413 px | 531 px |
| 600 DPI | 827 px | 1063 px |
The exact pixel result can vary slightly because pixel dimensions must be whole numbers.
For many online applications, the website will specify the required pixel dimensions separately.
Always follow the application's exact requirements when they are provided.
Why Does DPI Matter?
DPI stands for dots per inch.
In digital image workflows, people often also use PPI, meaning pixels per inch.
When converting a physical measurement such as centimeters into pixels, the resolution setting matters.
The basic conversion is:
pixels = physical size in inches × DPI
Since:
1 inch = 2.54 cm
3.5 cm is approximately:
1.378 inches
And 4.5 cm is approximately:
1.772 inches
At 300 DPI:
1.378 × 300 ≈ 413 pixels
1.772 × 300 ≈ 531 pixels
So 3.5 × 4.5 cm at 300 DPI is approximately:
413 × 531 pixels
Again, if an application provides its own pixel requirements, use those instead.
3.5 × 4.5 cm Photo Size: Quick Reference
If you simply need a quick reference:
| Resolution | Approx. Pixel Size |
|---|---|
| 72 DPI | 99 × 128 px |
| 96 DPI | 132 × 170 px |
| 150 DPI | 207 × 266 px |
| 200 DPI | 276 × 354 px |
| 300 DPI | 413 × 531 px |
| 600 DPI | 827 × 1063 px |
For most people preparing an image for an online form, the website's own pixel and file-size requirements are more important than choosing a DPI value yourself.
How to Resize a Photo to 3.5 × 4.5 cm Online
The basic process is simple.
Step 1: Open Your Original Photo
Start with the highest-quality version you have.
Avoid repeatedly resizing the same already-compressed image.
Step 2: Check the Required Specifications
Look for:
- Width
- Height
- Pixel dimensions
- File size
- File format
- DPI
- Background requirements
- Aspect ratio
Step 3: Crop the Photo
Set the crop ratio to:
3.5 : 4.5
Step 4: Resize the Image
Set the required dimensions.
Step 5: Choose the File Format
JPG is commonly used for photographs, but follow the upload requirement.
Step 6: Adjust File Size
If there is a maximum KB requirement, compress the image after resizing.
Step 7: Check the Final Image
Make sure the face, important details, and overall composition remain clear.
Why You Should Crop Before Resizing
Cropping is one of the most important steps.
Suppose your original photo is:
4000 × 3000 pixels
Its aspect ratio is:
4 : 3
But your target is:
3.5 × 4.5 cm
The target ratio is:
7 : 9
These shapes are different.
If you resize the original directly, the image may become distorted.
Instead, crop the image first.
Better Workflow
Original Photo
↓
Crop to 3.5:4.5 Ratio
↓
Resize
↓
Compress if Required
This keeps the subject proportionate.
How to Crop a Photo to the 3.5 × 4.5 Ratio
When using an online image editor, look for an option such as:
- Aspect Ratio
- Custom Ratio
- Crop Ratio
- Width/Height Ratio
Enter:
3.5 : 4.5
If the editor uses whole numbers, you can use:
7 : 9
These represent the same ratio.
Once the crop box appears, position the subject correctly.
For a portrait photo, pay attention to:
- Head position
- Face visibility
- Shoulder placement
- Top and side spacing
- Background
- Required framing
Do not crop so tightly that important parts of the photograph are cut off.
3.5 × 4.5 cm vs 4 × 6 cm
These sizes are not interchangeable.
| Size | Orientation | Aspect Ratio |
|---|---|---|
| 3.5 × 4.5 cm | Portrait | 7:9 |
| 4 × 6 cm | Portrait | 2:3 |
| 3.5 × 3.5 cm | Square | 1:1 |
| 2 × 2 inches | Square | 1:1 |
If an application specifically asks for 3.5 × 4.5 cm, use that specification.
Do not assume another common passport-photo size will be accepted.
What Does 3.5 × 4.5 cm Look Like?
The photo is:
3.5 cm wide
and
4.5 cm tall
So it is slightly taller than it is wide.
Think of it as a small portrait rectangle rather than a square.
The difference may look small on screen, but it matters when an application checks image proportions.
Is 3.5 × 4.5 cm the Same as Passport Photo Size?
Not necessarily.
Different countries, organizations, embassies, visa systems, schools, employers, and applications can have different photo requirements.
A website may ask for:
3.5 × 4.5 cm
while another system may require:
35 × 45 mm
These two measurements represent the same physical dimensions:
3.5 cm = 35 mm
4.5 cm = 45 mm
However, the complete photo requirements may still differ.
For example, one application could require a specific background, file format, pixel size, or maximum file size.
Always read the actual instructions for the application you are submitting.
3.5 × 4.5 cm in Millimeters
If a form gives the measurement in millimeters instead of centimeters:
3.5 cm = 35 mm
4.5 cm = 45 mm
Therefore:
3.5 × 4.5 cm = 35 × 45 mm
This is useful when different websites or forms use different measurement systems.
3.5 × 4.5 cm Photo for Online Applications
Online applications can have several requirements at once.
For example, a form might specify:
| Requirement | Example |
|---|---|
| Physical size | 3.5 × 4.5 cm |
| Format | JPG |
| Maximum file size | 100KB |
| Background | Plain |
| Orientation | Portrait |
| Minimum pixels | Application-specific |
These are examples only.
Your application may specify completely different values.
Do not rely on a generic size guide when the official application provides exact instructions.
Physical Size vs Digital Size
This is an important distinction.
Physical Size
Measured in:
cm, mm, or inches
Example:
3.5 × 4.5 cm
Digital Size
Measured in:
pixels
Example:
413 × 531 pixels
File Size
Measured in:
KB or MB
Example:
85KB
These are three different things.
A photo can have the correct physical dimensions but the wrong file size.
It can have the correct file size but the wrong pixel dimensions.
It can have the correct pixels but the wrong aspect ratio.
That is why you should check all requirements before uploading.
Can You Resize a Photo Without Losing Quality?
You can preserve good visual quality when resizing, especially if you start with a high-resolution original.
However, resizing a very large image to much smaller dimensions removes some pixel information.
The important thing is to avoid unnecessary repeated resizing.
Best Practice
Keep:
Original Photo
Then create:
3.5 × 4.5 cm Version
If you need another version later, return to the original rather than resizing the already-resized copy again.
What File Format Should You Use?
For photographs, JPG is often a practical choice.
However, the correct format depends on the application.
JPG
Good for:
- Portrait photos
- Passport-style photographs
- Application photos
- General photographs
PNG
Useful for:
- Graphics
- Transparency
- Certain edited images
WebP
Useful for:
- Websites
- Modern web applications
- Situations where the upload system supports it
If an application says JPG only, do not upload WebP simply because it may have a smaller file size.
What If the Photo Is Too Large?
Suppose your resized photo is:
413 × 531 pixels
but the file is:
180KB
and the application allows only:
100KB
You do not necessarily need to reduce the dimensions immediately.
Try:
- Exporting as JPG.
- Using moderate compression.
- Checking the file size.
- Fine-tuning the quality.
If the application has a minimum pixel requirement, do not reduce below it just to meet the KB limit.
What If the Photo Is Too Small?
Suppose the application requires:
Minimum 300 × 400 pixels
but your photo is:
150 × 200 pixels
Increasing its dimensions can make the file technically larger, but it cannot recreate detail that was never captured.
Whenever possible, start with a larger original photograph.
A higher-resolution source gives you more flexibility when creating the final version.
Common Mistakes When Creating a 3.5 × 4.5 cm Photo
Mistake 1: Using the Wrong Aspect Ratio
Forcing a square photo into a 3.5 × 4.5 shape can distort it.
Better: Crop first.
Mistake 2: Confusing Centimeters With Pixels
3.5 × 4.5 cm does not automatically mean one fixed pixel size.
Better: Check the required DPI or pixel dimensions.
Mistake 3: Ignoring the File-Size Limit
A correctly sized image may still be rejected if it exceeds the KB limit.
Better: Check both dimensions and file size.
Mistake 4: Using the Wrong Background
Some applications require a particular background.
Better: Follow the application's official photo instructions.
Mistake 5: Over-Cropping the Face
Cropping too tightly can remove required space around the head or shoulders.
Better: Follow the framing instructions for the specific application.
Mistake 6: Repeatedly Resizing the Same Image
This can gradually reduce quality.
Better: Keep the original and create a new final version.
Quick Checklist Before Uploading
Before submitting your photo, check:
- Width is correct.
- Height is correct.
- Aspect ratio is 3.5:4.5.
- Required pixel dimensions are satisfied.
- File size is within the limit.
- Correct format is used.
- Background meets the requirement.
- Face is clearly visible.
- Photo is not stretched.
- Photo is not unnecessarily blurry.
- The final file opens correctly.
A few seconds of checking can prevent an otherwise good photo from being rejected.
How to Resize a Photo to 3.5 × 4.5 cm Online
Exact 3.5 × 4.5 cm Pixel Calculations
One of the most confusing parts of resizing a photo is converting centimeters into pixels.
The important thing to remember is that centimeters and pixels are not directly interchangeable.
The pixel dimensions depend on the resolution.
The basic formula is:
Pixels = centimeters ÷ 2.54 × DPI
For a 3.5 × 4.5 cm photo:
Width = 3.5 ÷ 2.54 × DPI
Height = 4.5 ÷ 2.54 × DPI
Here are approximate results:
| Resolution | Width | Height |
|---|---|---|
| 72 DPI | 99 px | 128 px |
| 96 DPI | 132 px | 170 px |
| 150 DPI | 207 px | 266 px |
| 200 DPI | 276 px | 354 px |
| 300 DPI | 413 px | 531 px |
| 600 DPI | 827 px | 1063 px |
These calculations are based on the physical measurement and selected resolution.
However, do not automatically choose 300 DPI just because it appears in a table.
If the application says something like:
Photo size: 3.5 × 4.5 cm
and separately gives:
Required pixels: 413 × 531
then use the application's stated pixel dimensions.
3.5 × 4.5 cm at 300 DPI
A commonly used reference point is 300 DPI.
At 300 DPI:
3.5 cm ≈ 413 pixels
4.5 cm ≈ 531 pixels
So the approximate digital size is:
413 × 531 pixels
This is a useful conversion when you need a 3.5 × 4.5 cm image for a print-oriented workflow.
For online forms, however, the website may use its own pixel requirements.
Is 413 × 531 Pixels Always Correct?
No.
This is an important point.
413 × 531 pixels is approximately equivalent to 3.5 × 4.5 cm at 300 DPI, but that does not mean every website requiring 3.5 × 4.5 cm expects those exact pixels.
An online application might instead specify:
- 300 × 400 pixels
- 350 × 450 pixels
- 413 × 531 pixels
- Another custom size
If exact pixel dimensions are provided, follow them.
The safest rule is:
Official application requirements take priority over generic conversion charts.
How to Resize a Photo for an Online Application
Online application systems can be strict.
A photo may need to satisfy several conditions simultaneously.
For example:
| Requirement | Example |
|---|---|
| Width | 3.5 cm |
| Height | 4.5 cm |
| Format | JPG |
| Maximum file size | 100KB |
| Background | Plain |
| Minimum pixels | Specified by application |
The values above are only an example.
Your application may have different requirements.
Recommended Workflow
1. Read the requirements
Find every requirement before editing.
2. Crop
Use the 3.5:4.5 aspect ratio.
3. Resize
Enter the required pixel dimensions or physical dimensions.
4. Compress
Only if a file-size limit exists.
5. Export
Use the required file format.
6. Verify
Check the final file before uploading.
How to Resize a Photo to 35 × 45 mm
Some websites use millimeters instead of centimeters.
The conversion is simple:
3.5 cm = 35 mm
4.5 cm = 45 mm
Therefore:
3.5 × 4.5 cm = 35 × 45 mm
If an image editor asks for millimeters, enter:
Width: 35 mm
Height: 45 mm
If it asks for centimeters:
Width: 3.5 cm
Height: 4.5 cm
They represent the same physical dimensions.
How to Maintain the Correct Aspect Ratio
The aspect ratio of 3.5 × 4.5 is:
3.5 ÷ 4.5 = 0.777...
You can also express it as:
7:9
This means that for every:
7 units of width
there are:
9 units of height
Examples of the same ratio include:
- 350 × 450
- 700 × 900
- 1400 × 1800
These examples have the same 7:9 proportion.
However, matching the aspect ratio does not automatically mean that the image meets a particular application's pixel requirements.
Why Aspect Ratio Matters
Imagine your original image is:
1600 × 1200 pixels
That is a 4:3 image.
If you force it directly into:
350 × 450 pixels
the image can become distorted if the editor does not crop proportionally.
A person's face may appear:
- Wider
- Narrower
- Stretched
- Compressed
Instead, crop the original image to the required proportion first.
Then resize.
Correct Workflow
Original
↓
7:9 Crop
↓
Required Pixel Size
↓
Compression
This keeps the image proportions natural.
How to Position a Face in a 3.5 × 4.5 Photo
If the image is for an official application, the framing rules of that application matter most.
Generally, avoid placing the face too close to the edges unless the specific instructions require it.
Check:
- Top of the head
- Chin
- Face position
- Shoulders
- Left and right spacing
- Background
- Overall framing
Do not guess if the application provides an official example.
Use that example as your visual reference.
How to Reduce a 3.5 × 4.5 Photo to 100KB
Sometimes you need both:
3.5 × 4.5 cm
and:
Maximum 100KB
These are separate requirements.
First make the dimensions correct.
Then optimize the file size.
For example:
Original photo: 2MB
↓
Crop: 7:9 ratio
↓
Resize: Required dimensions
↓
Export JPG
↓
Compression
↓
Final: 82KB
The exact final size depends on the image.
Do not reduce the dimensions below the application's minimum simply to reach the KB limit.
How to Make a 3.5 × 4.5 Photo Under 50KB
The same principle applies when the size limit is stricter.
For example:
Target: 50KB maximum
Start by creating the correct 3.5 × 4.5 image.
Then:
- Export as an accepted format.
- Check the file size.
- Apply moderate compression.
- Check the result.
- Make another small adjustment if necessary.
If the image is still too large, consider whether the application specifies minimum pixels.
Never sacrifice required dimensions without checking the rules.
How to Prepare a Photo for a Visa or Application
Visa and official application systems can have very specific requirements.
A requirement might include:
- Physical dimensions
- Pixel dimensions
- Maximum file size
- File format
- Background
- Face positioning
- Recent photograph
- Lighting requirements
These requirements differ between authorities and applications.
Therefore, do not assume that a 3.5 × 4.5 cm photo automatically satisfies every visa or passport system.
The measurement only describes the physical size.
The complete specification may contain several additional rules.
3.5 × 4.5 cm Photo for Printing
If the photo will be printed rather than uploaded digitally, resolution becomes especially relevant.
For example, at 300 DPI:
3.5 × 4.5 cm ≈ 413 × 531 pixels
At a higher resolution, more pixels are used.
For example:
600 DPI ≈ 827 × 1063 pixels
The correct resolution depends on the printing workflow and intended output.
If a printing service provides its own specifications, follow them.
Digital Photo Size vs Printed Photo Size
A common misunderstanding is assuming that:
413 × 531 pixels
always means a physically printed photo of:
3.5 × 4.5 cm
It only corresponds to that physical size when the image is interpreted at approximately 300 DPI.
For example, the same pixel image could be printed larger or smaller depending on the selected print resolution.
This is why:
Pixels ≠ centimeters
unless a resolution is also specified.
What Happens If You Resize Only the Width?
Suppose you enter:
Width: 3.5 cm
but allow the editor to calculate the height automatically.
The result might not be:
4.5 cm
It depends on the original aspect ratio.
For an official photo requirement, that can be a problem.
Instead, use a crop ratio of:
7:9
before setting the final dimensions.
What Happens If You Enter 3.5 × 4.5 Without Cropping?
If the original image has a different aspect ratio, the editor has two choices:
- Stretch the image.
- Crop part of the image.
Stretching can distort the subject.
Cropping removes some of the original image.
For portraits, cropping is generally preferable to stretching.
Should You Use "Fit" or "Fill"?
When an editor offers options such as Fit and Fill, understand the difference.
Fit
The entire image remains visible, but empty areas may appear.
Fill
The image fills the target dimensions, but some parts may be cropped.
For a portrait photo with a required aspect ratio, Fill + careful positioning can often be more useful than stretching the image.
But the exact option depends on the editor.
Always inspect the result.
JPG, PNG, or WebP for a 3.5 × 4.5 Photo?
For a normal photograph, JPG is often the practical choice.
| Format | Best For | Main Advantage | Main Limitation |
|---|---|---|---|
| JPG | Photographs | Small file sizes | Lossy compression |
| PNG | Graphics/transparency | Lossless options | Often larger for photos |
| WebP | Web images | Efficient compression | Not accepted everywhere |
If the application says:
JPG only
use JPG.
If it accepts several formats, choose the format that gives you the required quality and file size.
Pros and Cons of Resizing Online
Pros
- No complicated software required
- Works from a browser
- Quick for simple photo preparation
- Useful on computers and phones
- Easy to combine cropping and resizing
Cons
- Some tools may have upload limits
- Not every tool provides physical-size controls
- Some tools may compress automatically
- Privacy policies differ between services
- Advanced print settings may be limited
If the photograph contains sensitive information, review the service's privacy practices before uploading it.
Common Problems and How to Fix Them
Problem 1: Photo Looks Stretched
Cause: Wrong aspect ratio.
Fix: Crop to 7:9 before resizing.
Problem 2: Photo Is Correct Size but Too Large
Cause: File compression is insufficient.
Fix: Export using an appropriate format and adjust compression.
Problem 3: Photo Is Under the File Limit but Too Small
Cause: Dimensions are below the required minimum.
Fix: Return to the original and create a larger version.
Problem 4: Face Is Cut Off
Cause: Automatic cropping.
Fix: Reposition the crop area manually.
Problem 5: Photo Is Blurry
Cause: Low-quality source, excessive resizing, or aggressive compression.
Fix: Start with a higher-quality original and compress less aggressively.
Problem 6: Website Rejects the Photo
Cause: The image may not satisfy one of the requirements.
Check:
- File size
- Pixel dimensions
- Format
- Aspect ratio
- Background
- File extension
Best Practices for 3.5 × 4.5 cm Photos
Follow these practices for better results:
Start with the best original
A larger, clear source gives you more flexibility.
Crop before resizing
Set the correct 7:9 proportion.
Follow official specifications
Do not rely on a generic size chart when the application provides exact requirements.
Separate physical size from pixel size
3.5 × 4.5 cm does not mean one universal pixel dimension.
Check file size separately
A correctly sized image may still be too large in KB.
Preserve the original
Create a new copy for the application.
Inspect the final result
Look at the face, edges, background, and overall framing.
A Simple Workflow You Can Remember
When you need a 3.5 × 4.5 cm photo, remember:
1. Check requirements
↓
2. Open the original
↓
3. Crop to 7:9
↓
4. Set required dimensions
↓
5. Choose required format
↓
6. Compress if necessary
↓
7. Check KB
↓
8. Check pixels
↓
9. Check appearance
↓
10. Upload
This workflow works well for many common photo-preparation tasks, while still leaving room for application-specific requirements.
Final Checklist
Before submitting your 3.5 × 4.5 cm photo:
- Width is 3.5 cm or the required equivalent.
- Height is 4.5 cm or the required equivalent.
- Pixel dimensions meet the application's requirement.
- Aspect ratio is correct.
- File size is within the specified limit.
- File format is accepted.
- Background meets the instructions.
- Face is positioned correctly.
- Photo is not stretched.
- Photo is not excessively blurry.
- Final file opens correctly.
- Original image is safely stored.
Conclusion
Resizing a photo to 3.5 × 4.5 cm online is not simply a matter of typing two numbers into an image editor.
You need to consider the physical dimensions, pixel dimensions, aspect ratio, file size, format, and the specific requirements of the destination.
The most important distinction is this:
3.5 × 4.5 cm describes physical size.
Pixels describe digital dimensions.
KB describes file size.
These values are related, but they are not the same thing.
For a 300 DPI workflow, 3.5 × 4.5 cm is approximately 413 × 531 pixels. But if an application provides its own pixel dimensions, use those requirements instead.
For most photo resizing tasks, the safest workflow is:
Crop → Resize → Compress → Check → Upload
Start with a good-quality original, preserve the correct 7:9 aspect ratio, and always check the application's complete instructions before submitting the final image.
Key Takeaways
- 3.5 × 4.5 cm equals 35 × 45 mm.
- The aspect ratio is 7:9.
- There is no single universal pixel size for 3.5 × 4.5 cm.
- At 300 DPI, the approximate size is 413 × 531 pixels.
- At 600 DPI, the approximate size is 827 × 1063 pixels.
- Physical dimensions, pixel dimensions, and file size are different measurements.
- Crop the photo to the correct ratio before resizing.
- Do not stretch a photograph to fit the target dimensions.
- Follow the official application's pixel, KB, format, and background requirements.
- JPG is often practical for photographs, but the destination's required format comes first.
- Keep the original image and create a separate resized copy.
- Always inspect the final image before uploading.
Call To Action
Need to prepare a photo for an online application?
Start with the original image and follow this simple process:
Check requirements → Crop to 7:9 → Resize → Compress if needed → Verify → Upload
If the application also specifies pixels or a maximum file size, treat those requirements separately from the 3.5 × 4.5 cm measurement.
That small check can save you from having to redo the photo after an upload error.
Frequently Asked Questions
1. What is the 3.5 × 4.5 cm photo size in pixels?
There is no single pixel size because the conversion depends on resolution. At 300 DPI, 3.5 × 4.5 cm is approximately 413 × 531 pixels.
2. What is 3.5 × 4.5 cm in mm?
3.5 × 4.5 cm equals 35 × 45 mm.
3. What is the aspect ratio of a 3.5 × 4.5 cm photo?
The aspect ratio is 7:9. Using this ratio when cropping helps prevent the photo from being stretched.
4. Is 413 × 531 pixels the same as 3.5 × 4.5 cm?
It is approximately equivalent when the image is interpreted at 300 DPI. Pixel dimensions alone do not define a physical size without a resolution setting.
5. How do I resize a photo to 3.5 × 4.5 cm online?
Crop the photo to a 7:9 aspect ratio, then enter the required physical or pixel dimensions in an online image editor. Export it in the required format and check the file size.
6. Can I resize a photo to 3.5 × 4.5 cm without cropping?
Only if the original image already has the correct aspect ratio. Otherwise, cropping is usually preferable to stretching the image.
7. What DPI should I use for a 3.5 × 4.5 cm photo?
There is no universal DPI requirement. For print-oriented work, 300 DPI is a common reference, but an online application may specify its own pixel dimensions instead.
8. What format is best for a 3.5 × 4.5 cm photo?
JPG is often suitable for photographs because it can provide a relatively small file. However, always use the format specified by the application.
9. How can I make a 3.5 × 4.5 cm photo under 100KB?
First create the correct dimensions and aspect ratio. Then export the photo in an appropriate format and adjust compression until the file is below 100KB while maintaining acceptable quality.
10. Why is my 3.5 × 4.5 cm photo being rejected?
Check the complete requirements. The problem could be incorrect pixel dimensions, file size, format, aspect ratio, background, or another application-specific requirement.
Ready to optimize your images?
Every tool mentioned in this article is free to use. No upload, no signup, and no watermarks — ever.
Try our free toolsRelated articles
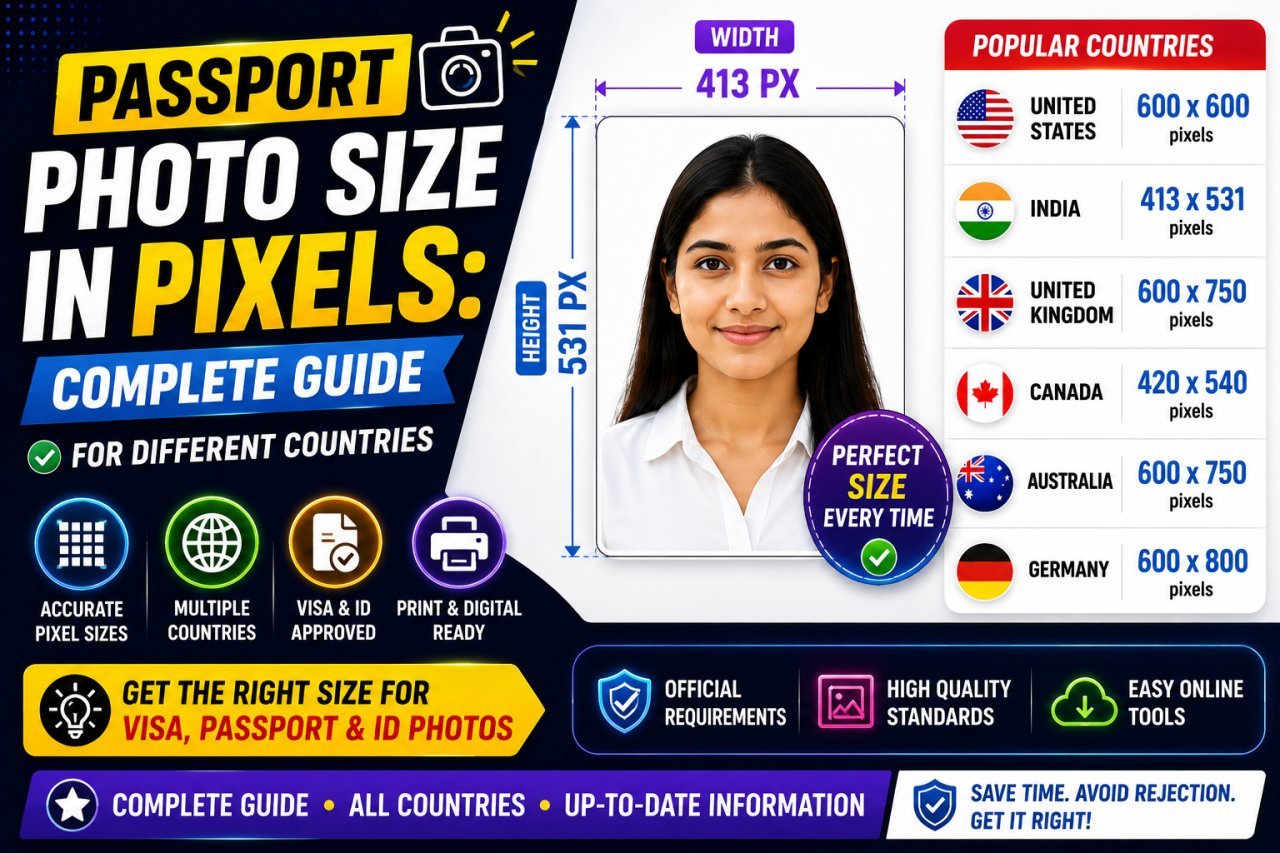
Passport Photo Size in Pixels: Country Guide
Need the correct passport photo size in pixels? This complete guide explains common passport photo dimensions for the USA, UK, Canada, India, Australia, and other countries, plus DPI, aspect ratio, file size, cropping, and online upload requirements.
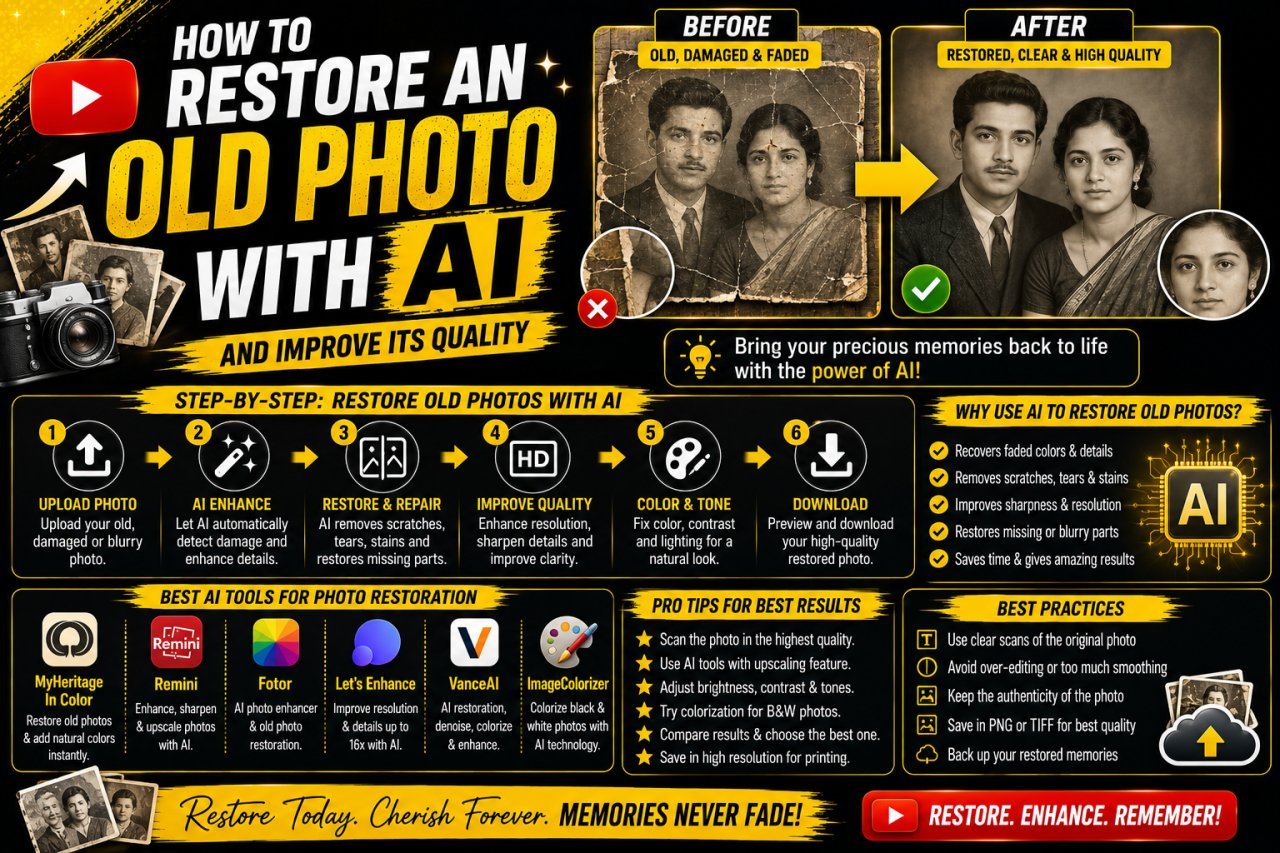
How to Restore an Old Photo With AI: Complete Beginner's Guide
Learn how to restore an old photo with AI by repairing damage, improving clarity, reducing noise, and bringing faded photographs back to life with simple techniques.
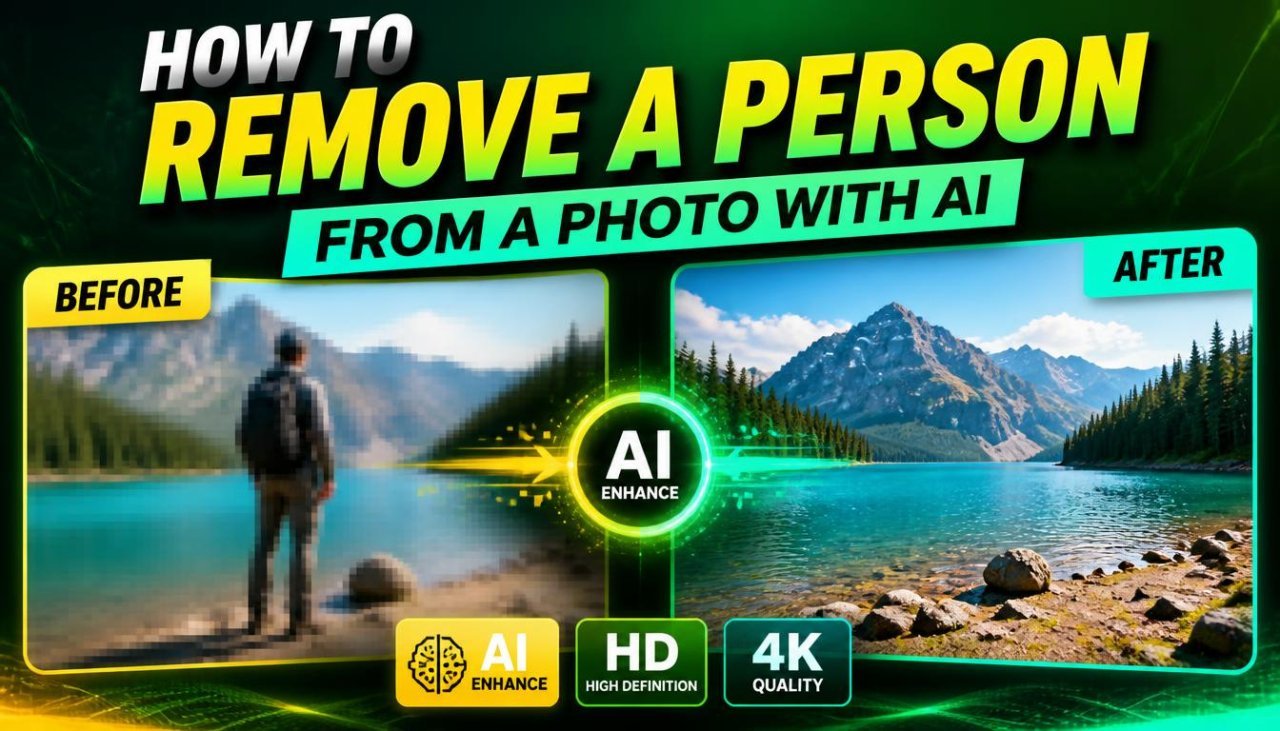
How to Remove a Person From a Photo With AI: Easy Online Guide
Learn how to remove a person from a photo with AI using simple online editing techniques. Discover how AI object removal works, when to use it, and how to get natural-looking results.