
How to Turn a Video Screenshot Into a YouTube Thumbnail
Learn how to turn a video screenshot into a YouTube thumbnail using the right frame, cropping, sharpening, text, contrast, and image optimization techniques.

How to Turn a Video Screenshot Into a YouTube Thumbnail
Introduction
A good moment from your video can often become a great YouTube thumbnail.
You do not always need to take a new photo or create a complicated design from scratch. If your video contains a clear expression, interesting scene, product shot, transformation, or useful visual result, you can capture that frame and turn it into a thumbnail.
The challenge is that a normal video screenshot is not automatically ready for YouTube. It may be too small, poorly framed, blurry, dark, or filled with unnecessary background details.
With a few simple editing steps, you can turn that ordinary frame into a cleaner and more attention-grabbing thumbnail.
This guide explains how to choose the right frame, improve its quality, crop it correctly, add text, create contrast, and prepare the final image for YouTube.
Why Use a Video Screenshot for a YouTube Thumbnail?
Using a screenshot from your own video has one major advantage: the image already represents the content of the video.
That makes it easier to create a thumbnail that feels connected to what viewers will actually see after clicking.
For example, a video might contain:
- A surprising reaction
- A before-and-after result
- A product demonstration
- A finished design
- A useful software feature
- A funny moment
- A dramatic scene
- A comparison
- A tutorial result
Instead of searching for a separate stock image, you can use a frame directly from the video.
Benefits of using a video frame
| Benefit | Why It Helps |
|---|---|
| Relevant | The image comes directly from the video |
| Authentic | It represents your actual content |
| Convenient | No separate photoshoot may be required |
| Flexible | You can edit and crop the frame |
| Consistent | The thumbnail matches the video's visual style |
However, not every frame is suitable.
The goal is to find a frame that communicates something useful at a small size.
All Tools
Step 1: Find the Best Frame
The first step is the most important one.
Scroll through your video and look for frames that have a strong visual subject.
Do not simply choose the first clear frame.
Look for a moment where the viewer can immediately understand what is happening.
Good frames often contain:
- A clear face or expression
- A visible product
- A strong before-and-after result
- A clear object
- A useful visual demonstration
- A surprising moment
- Strong separation between the subject and background
Avoid frames with:
- Closed eyes
- Strange facial expressions
- Motion blur
- Important objects partially hidden
- Random people in the background
- Captions covering the subject
- Excessive empty space
- Very dark lighting
Take your time here.
A strong source frame makes the rest of the thumbnail editing process much easier.
Step 2: Capture the Frame at the Highest Practical Quality
A screenshot taken from a small video player may not provide enough detail.
If possible, extract a frame from the original video file rather than taking a screenshot from a compressed streaming preview.
This can give you a cleaner source image.
For example, if your original video is high resolution, extracting a frame directly from that file can preserve more detail than photographing or screenshotting a small preview window.
Keep the original frame
Save the untouched frame before editing it.
You can then create a separate thumbnail version.
A simple workflow is:
Original Video → Selected Frame → Edited Thumbnail → Final Upload
This gives you a clean source to return to if you decide to create another thumbnail later.
Step 3: Check the Frame for Blur
Video frames can contain motion blur.
This is particularly common when the subject or camera moves quickly.
A frame may look acceptable while the video is playing because the viewer sees movement. Once you freeze that moment into a thumbnail, the blur becomes much more obvious.
Look closely at:
- Face details
- Eyes
- Product edges
- Text
- Hands
- Important objects
If the screenshot is slightly soft, sharpening may help.
ImageEditPro's Image Sharpener can be useful for improving a soft frame before using it in your thumbnail design.
Do not over-sharpen the image, though.
Excessive sharpening can create harsh edges and make the screenshot look unnatural.
Step 4: Improve a Small or Low-Resolution Screenshot
Sometimes the best moment in a video comes from a source that is not large enough for your final design.
For example, you may have a screenshot that looks fine on your phone but becomes soft when enlarged.
In that situation, an image upscaling tool can help increase the working dimensions before you design the thumbnail.
ImageEditPro's AI Image Upscaler can be used to enlarge an image while attempting to preserve and reconstruct visual details.
This is particularly useful when:
- The screenshot is too small
- The subject needs to be enlarged
- You want to crop heavily
- The original frame lacks enough working space
Upscaling cannot magically recreate every missing detail, so start with the highest-quality frame you can get.
Step 5: Crop the Screenshot for the Thumbnail
A raw video screenshot may contain too much information.
You might have:
- A person on one side
- Empty space
- Background objects
- Video interface elements
- Captions
- Unimportant areas
Cropping lets you focus attention on what matters.
A common YouTube thumbnail layout uses a 16:9 aspect ratio.
A 1280 × 720 pixel canvas is a commonly used size for YouTube thumbnails.
Before publishing, check YouTube's current thumbnail specifications because platform requirements can change.
Example
Imagine your screenshot looks like this:
------------------------------------------------
|                                              |
|       PERSON                                 |
|                                              |
|                         PRODUCT              |
|                                              |
|        EMPTY BACKGROUND                      |
|                                              |
------------------------------------------------
A tighter crop might become:
----------------------------------------
|        PERSON       |    PRODUCT     |
|                     |                |
|                     |                |
----------------------------------------
The second version gives the important elements more visual space.
Step 6: Remove Unnecessary Video Elements
If you capture a screenshot from a video player, you may accidentally include interface elements.
These can include:
- Play buttons
- Progress bars
- Video controls
- Browser elements
- Watermarks from another platform
- Subtitles
- Notifications
If they are not part of the video's message, remove or crop them out.
A clean thumbnail should look like an intentional design rather than a random screenshot from a video player.
Step 7: Improve the Background
The background of your frame may contain distracting objects.
You can simplify it by:
- Cropping
- Blurring
- Darkening
- Brightening
- Removing objects
- Replacing the background
If the subject is a person or product, separating it from a busy background can make the thumbnail easier to understand.
ImageEditPro's Background Remover can help remove a background from a selected image when you want to place the subject over a cleaner thumbnail design.
For example:
Original screenshot → Subject cutout → Custom background → Text
This gives you more control over the final composition.
Step 8: Improve Lighting and Contrast
Video screenshots can sometimes look flat because of the original lighting or video compression.
Small adjustments can make the important subject easier to see.
You can adjust:
- Brightness
- Contrast
- Highlights
- Shadows
- Saturation
- Sharpness
Avoid making the image extremely bright or saturated.
The goal is to make the screenshot clearer, not to make it look artificial.
A simple rule
If the viewer notices the editing before noticing the subject, you may have gone too far.
Step 9: Add Short Thumbnail Text
Your screenshot may already communicate the video's topic, but a few words can add context.
For example, suppose your video title is:
"I Tested 5 Free Photo Editing Apps"
A screenshot from the video might show a phone displaying an edited photograph.
You could add:
5 APPS TESTED
The text supports the image without repeating the entire title.
Keep thumbnail text:
- Short
- Large
- Easy to read
- Relevant
- High contrast
Avoid putting the complete video title on the thumbnail.
Step 10: Use Text That Complements the Title
Your thumbnail and title should work as a pair.
Example
Video title: "How I Restored a Blurry Old Photo"
Thumbnail text: "LOOKS NEW!"
The title explains the process.
The thumbnail highlights the result.
Another example:
Video title: "I Tried Editing Photos With AI for 7 Days"
Thumbnail text: "DAY 7 RESULT"
Again, the two elements provide different pieces of information.
Step 11: Make the Main Subject Bigger
A screenshot often includes more background than you need.
If the subject is a person, crop closer to the face.
If the subject is a product, make the product large enough to recognize.
If the subject is a result, give the result most of the available space.
A viewer should not have to search around the thumbnail to find the important element.
Think about visual priority
Ask:
What should people see first?
Make that element the largest or most visually prominent part of the design.
Step 12: Use Contrast to Separate Elements
Contrast can make a major difference.
If your text is placed over a complicated screenshot, it may disappear.
You can improve readability by using:
- Light text over a dark area
- Dark text over a light area
- A subtle text outline
- A shadow
- A simple background behind the text
The same idea applies to the main subject.
If the subject blends into the background, create more separation.
Step 13: Add a Simple Visual Hook
You can add a small design element when it helps explain the screenshot.
Examples include:
- An arrow
- A circle
- A before/after divider
- A highlight
- A small icon
- A simple border
But do not add these elements simply because thumbnails often contain them.
If an arrow does not point toward something useful, remove it.
If a circle does not highlight anything important, it is unnecessary.
Step 14: Create Before-and-After Thumbnails
Video screenshots are particularly useful for before-and-after content.
Suppose your video demonstrates how you restore an old photograph.
You could capture:
Before: Original damaged image After: Restored image
Then place them side by side.
This gives viewers an immediate understanding of the transformation.
The same approach can work for:
- Photo editing
- Video editing
- Website redesign
- Image enhancement
- Color correction
- Background removal
- Graphic design
Screenshot Thumbnail vs. Custom Thumbnail
Using a screenshot is convenient, but it is not always the best choice.
| Approach | Advantages | Limitations |
|---|---|---|
| Video screenshot | Fast and authentic | Frame may need heavy editing |
| Custom photo | More control | Requires additional photography |
| Graphic design | Complete creative control | Takes more time |
| Before/after | Strong visual explanation | Requires a visible transformation |
If your video contains a strong visual moment, a screenshot can work extremely well.
If the video does not contain a good frame, creating a custom thumbnail may be better.
Common Mistakes to Avoid
Using a Random Frame
The frame should have a purpose.
Keeping the Entire Screenshot
Extra background can make the subject too small.
Leaving Video Controls Visible
These make the image look unfinished.
Using Tiny Text
Small text becomes difficult to read on mobile.
Over-Sharpening
Too much sharpening can create unnatural edges.
Excessive Saturation
Strong colors can make the thumbnail look artificial.
Adding Too Many Elements
A screenshot already contains visual information. Adding too much more can make it confusing.
Misleading the Viewer
Do not edit the frame to suggest something that does not actually happen in the video.
How to Make a Screenshot Look More Professional
A simple editing sequence can produce a much cleaner result:
1. Select the best frame
2. Remove unnecessary elements
3. Crop to the right composition
4. Upscale if the source is too small
5. Sharpen carefully
6. Adjust brightness and contrast
7. Simplify the background
8. Add short text
9. Check the thumbnail at a small size
10. Export the final image
This process is usually enough for many tutorial, review, educational, and creator videos.
Compress the Final Thumbnail
Once the design is finished, you may want to reduce the file size before uploading it.
ImageEditPro's Image Compressor can be useful for optimizing the final image without unnecessarily sacrificing visible quality.
The important thing is to compare the compressed version with the original thumbnail.
If text becomes blurry or fine details disappear, use a less aggressive compression setting.
What If the Screenshot Is Very Blurry?
If the selected frame has serious motion blur, choosing another frame is often the best solution.
Image editing can improve mild softness, but it cannot always recover information that was never captured clearly.
Try this order:
Find a better frame → Upscale if needed → Sharpen carefully
This is usually better than trying to rescue a severely blurred frame.
A Simple Workflow for Beginners
If you are new to thumbnail editing, you do not need dozens of editing steps.
Use this basic workflow:
Step 1
Open your original video.
Step 2
Find the most useful visual moment.
Step 3
Extract a high-quality frame.
Step 4
Crop it to a thumbnail-friendly composition.
Step 5
Improve sharpness and image quality if necessary.
Step 6
Remove distracting background elements.
Step 7
Add a few words of text if they improve the message.
Step 8
Check the design at a small size.
Step 9
Compress the final image if necessary.
Step 10
Upload it with the video.
Final Checklist
Before using your screenshot as a YouTube thumbnail, check:
- Is this one of the strongest frames from the video?
- Is the main subject obvious?
- Is the image sharp enough?
- Is the crop clean?
- Are video controls removed?
- Is the background distracting?
- Is the text easy to read?
- Does the title complement the thumbnail?
- Does the thumbnail accurately represent the video?
- Does it still look good at a small size?
- Is the final image optimized appropriately?
If the answer is yes, your screenshot is ready to become a proper YouTube thumbnail.
Final Thoughts
Turning a video screenshot into a YouTube thumbnail can be much easier than creating a design from nothing.
The most important part is choosing the right frame.
After that, focus on composition, image quality, readability, contrast, and simplicity.
Do not try to make the thumbnail impressive by adding every possible effect. A clean frame with a strong subject and a clear message can be much more effective.
Your goal is simple: give viewers an honest, quick visual reason to understand what your video is about and decide whether it is worth watching.
A screenshot is only the starting point. With the right edits, it can become a polished thumbnail that fits your video and your channel.
Ready to optimize your images?
Every tool mentioned in this article is free to use. No upload, no signup, and no watermarks — ever.
Try our free toolsRelated articles
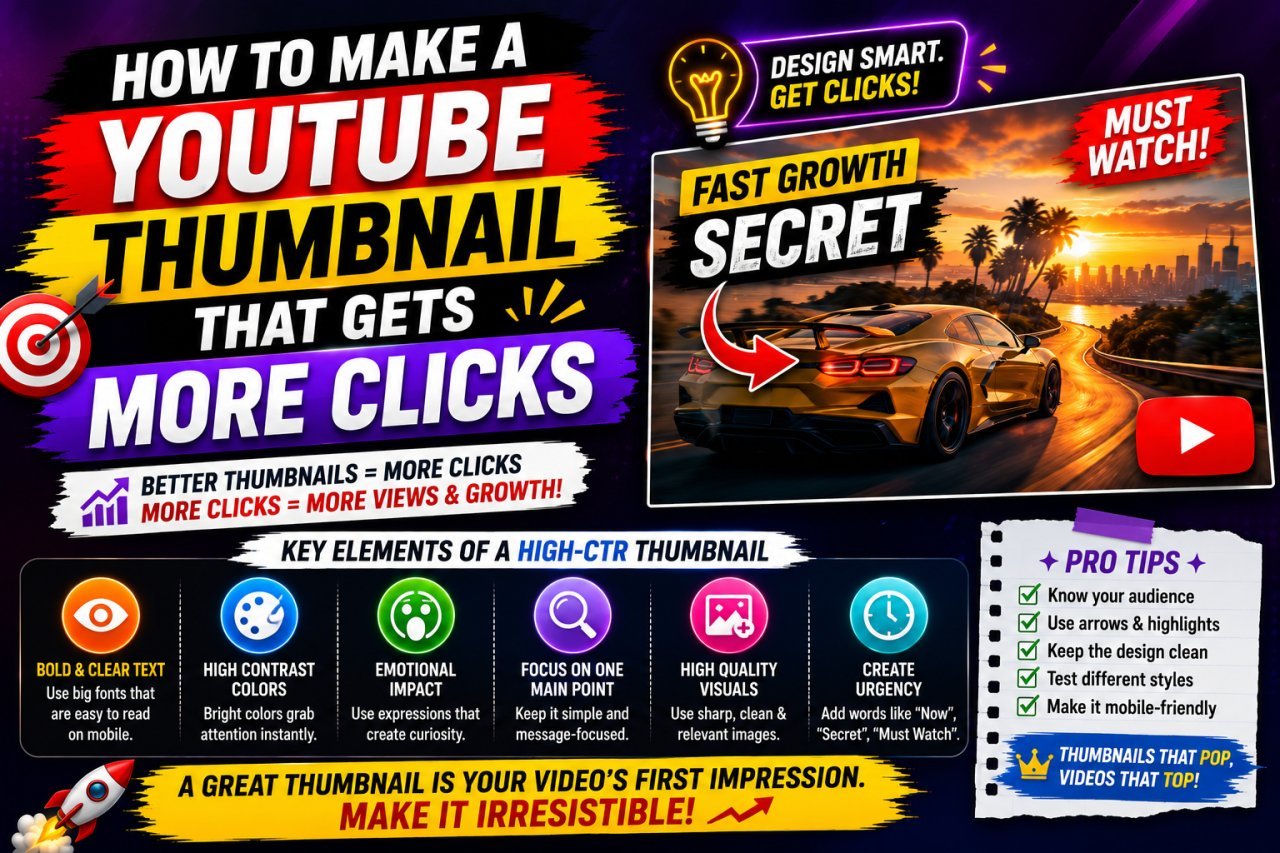
How to Make a YouTube Thumbnail That Gets More Clicks
Learn how to make a YouTube thumbnail that gets more clicks with better design, readable text, strong visuals, color contrast, and simple thumbnail optimization techniques.
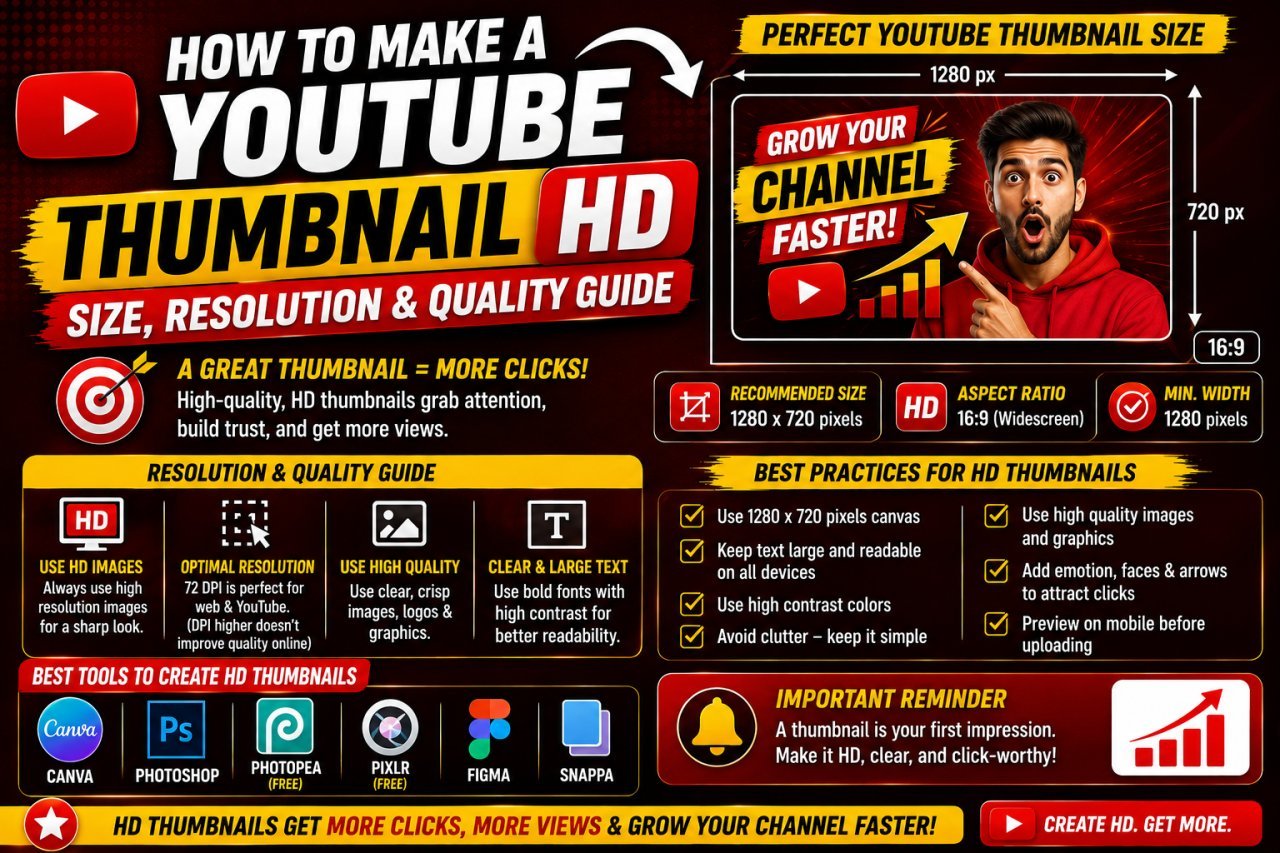
How to Make a YouTube Thumbnail HD: Size, Resolution & Quality Guide
Learn how to make a YouTube thumbnail HD with the right size, resolution, image quality, and export settings. Create sharp thumbnails without blur or pixelation.
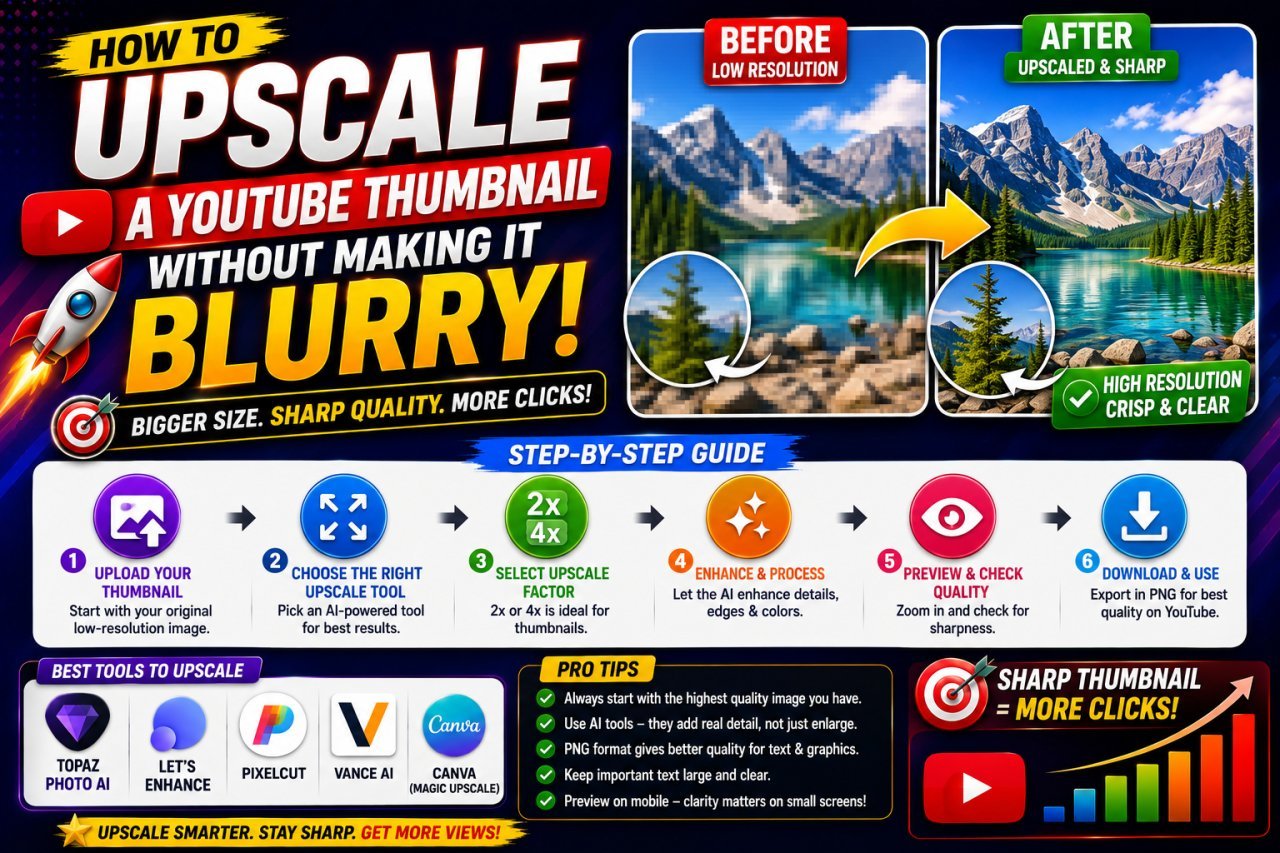
How to Upscale a YouTube Thumbnail Without Making It Blurry
Learn how to upscale a YouTube thumbnail without making it blurry. Discover the right image size, AI upscaling tips, sharpening techniques, and common mistakes to avoid.